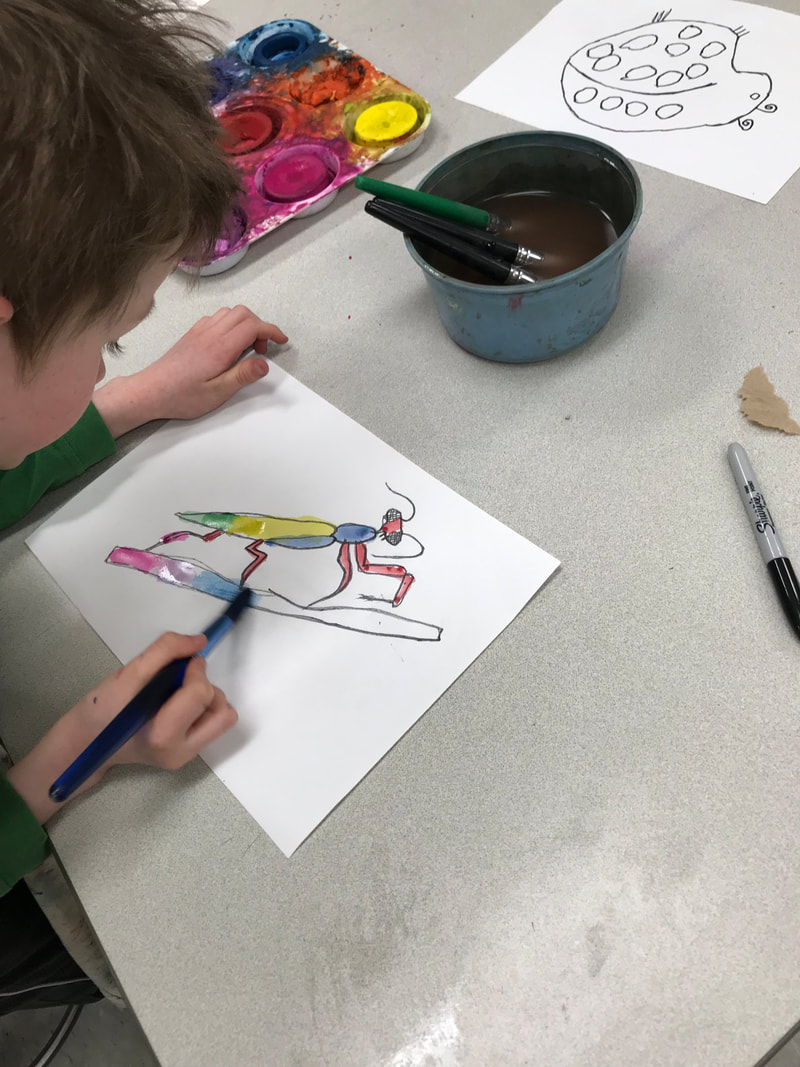
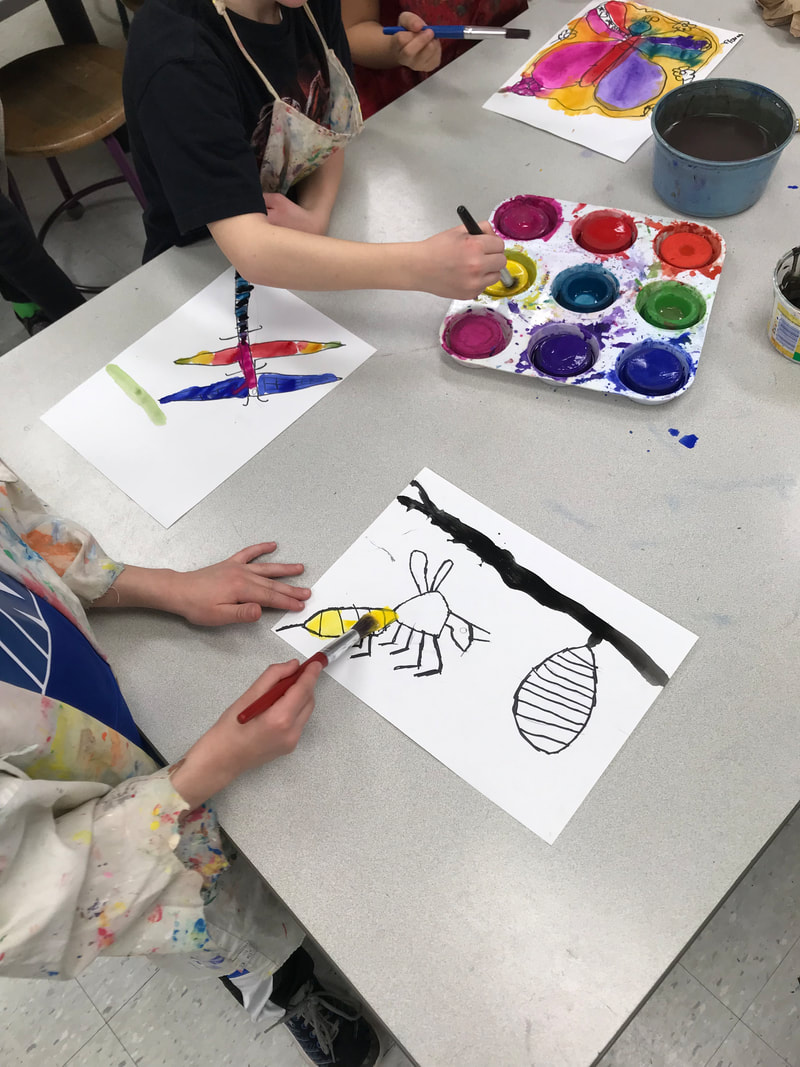
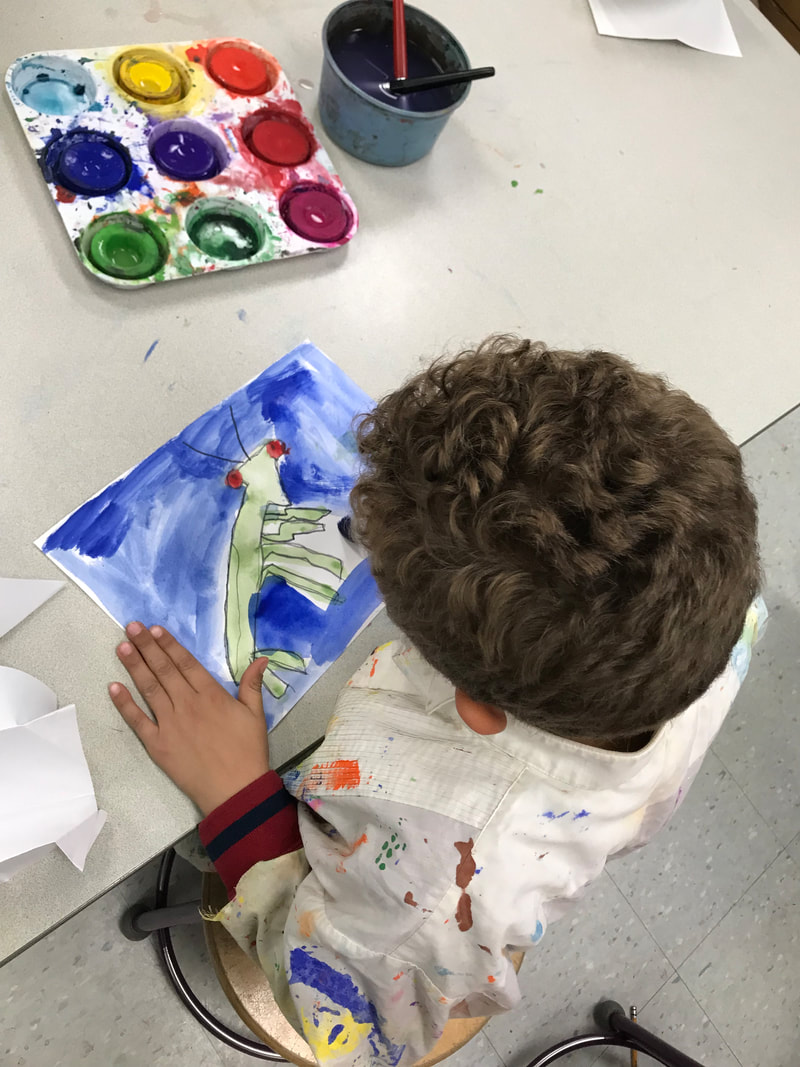
This lesson is more fun if your child goes outside on a bug hunt. See how many different kinds of insects they can find! They can bring a pencil and paper to use to draw the insects they observe. Come on back inside and go over the lines with black sharpie marker. Then paint them in vibrant colors and add a stick, rocks or grass. Our earth is full of a wide variety of beautiful and unusual insects. I would extend this lesson by asking what place each insect has in the food chain? What does it eat and what eats it? What advantage would wings or pincers give the creature? Another further extension we did in my art room was to mount these on cards and write questions with clues to create a "Guess the Insect (or animal) Game". Children love to quiz others to see if they can guess the correct answer. Remind them to put the most difficult questions first and to only give one clue at a time. Have fun!
|
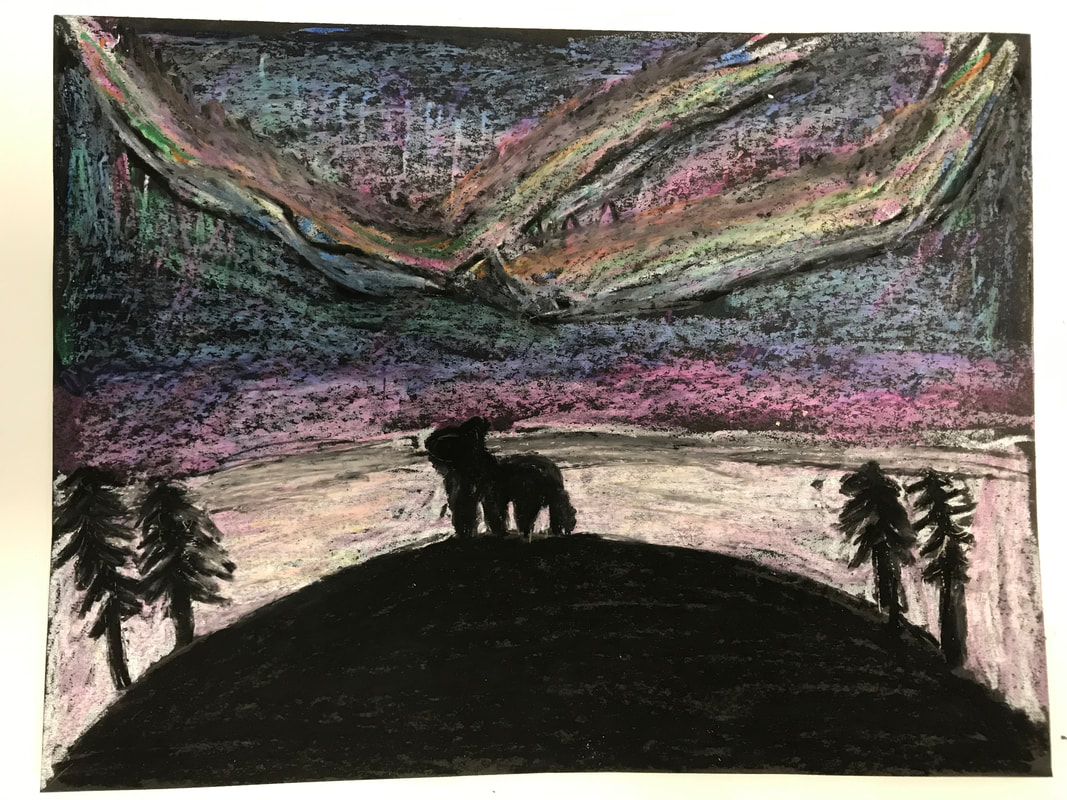
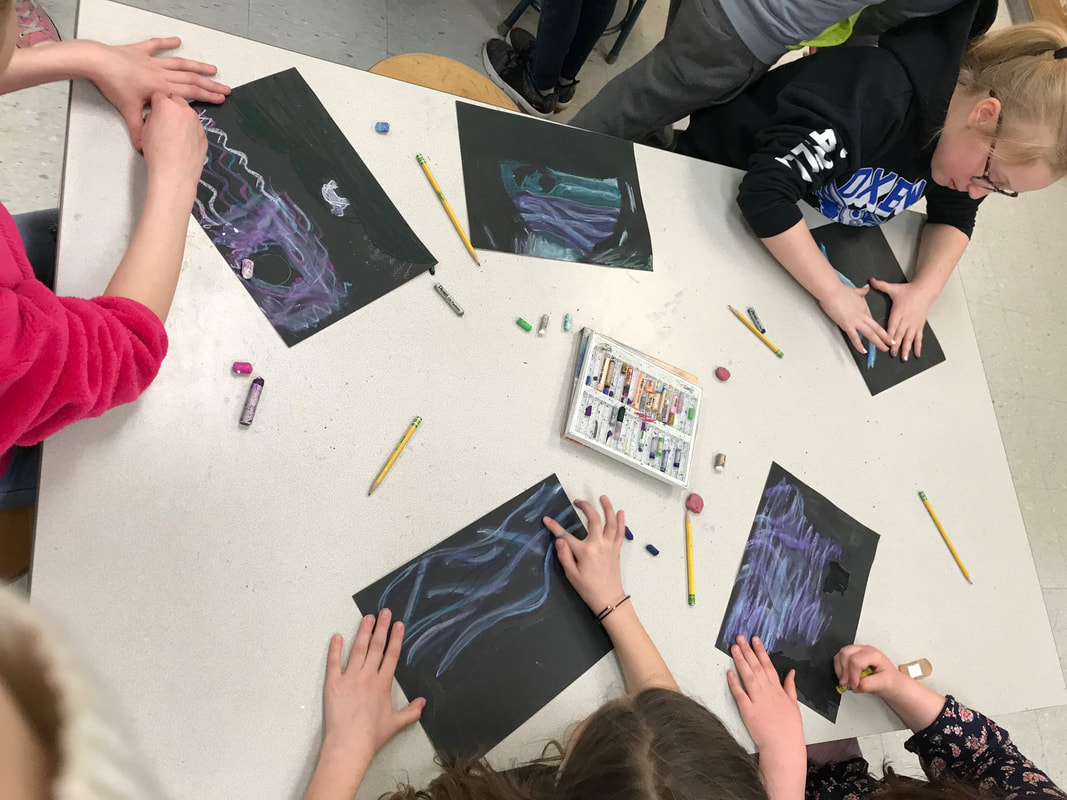
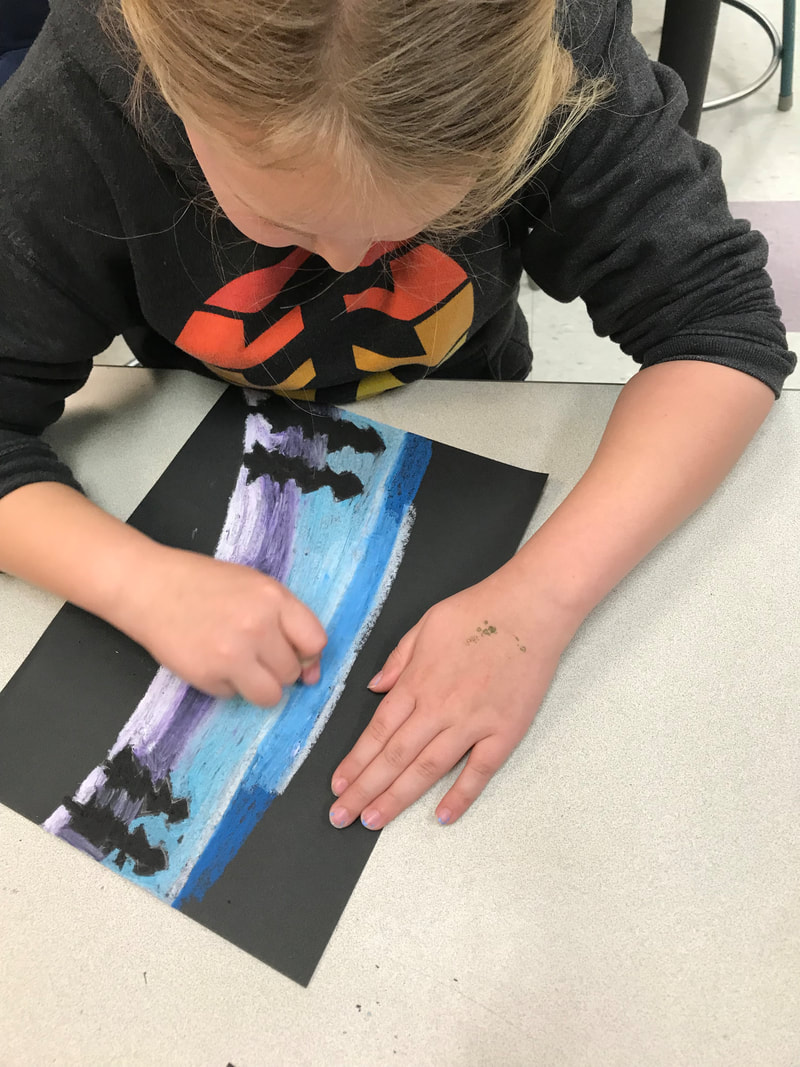
I firmly believe it is important for our children to learn about the incredible diversity of earth's animals and how many are endangered and which ones may soon die out. This lesson helps students learn about animals that live in the arctic biome, such as polar bears and the arctic fox. This lesson uses black construction paper and pastels. Children LOVE drawing with pastels but a few warnings are in order as they can be VERY messy! I always warn my students to work from the top down in coloring the northern lights and also not to smudge the chalk by carefully lifting their hand up after drawing. It WILL get all over their fingers. (Oil pastels can also be used). I recommend beginning by searching Google images using the key words "northern lights" to look at beautiful examples of this unusual phenomena. Using pastels on black construction paper, have them draw their own version of the northern lights, coloring all the way down the black paper. Next, spray the chalk drawing with hair spray, if possible to seal the chalk and prevent smudging. Next, I would have my students do research on one or two arctic animals. I had a simple sheet of questions asking: 1) What is the name of your animal? 2) What environment/habitat does it live in (ocean, tundra, icebergs, etc. 3) What does your animal eat? 4) What is its place in the food chain (predator, prey, etc.) 5) Why is it endangered? 6) What are three things we personally can do to save it from extinction? (This can be a complicated answer and should require some deeper thinking instead of "just stop killing them." An animal such as the polar bear is impacted by climate change and loss of sea ice, so what can we do to stop climate change? The final step involves adding black silhouettes of a hill, land, trees, and the animal itself. These are then glued to the bottom of the page, being careful not to make the silhouettes so big that they cover up the beautiful northern lights. Here are some good links to use: https://www.enchantedlearning.com/coloring/arcticanimals.shtml and https://www.worldwildlife.org/places/arctic and https://www.un-habitat.org/endangered-animals-arctic-region/
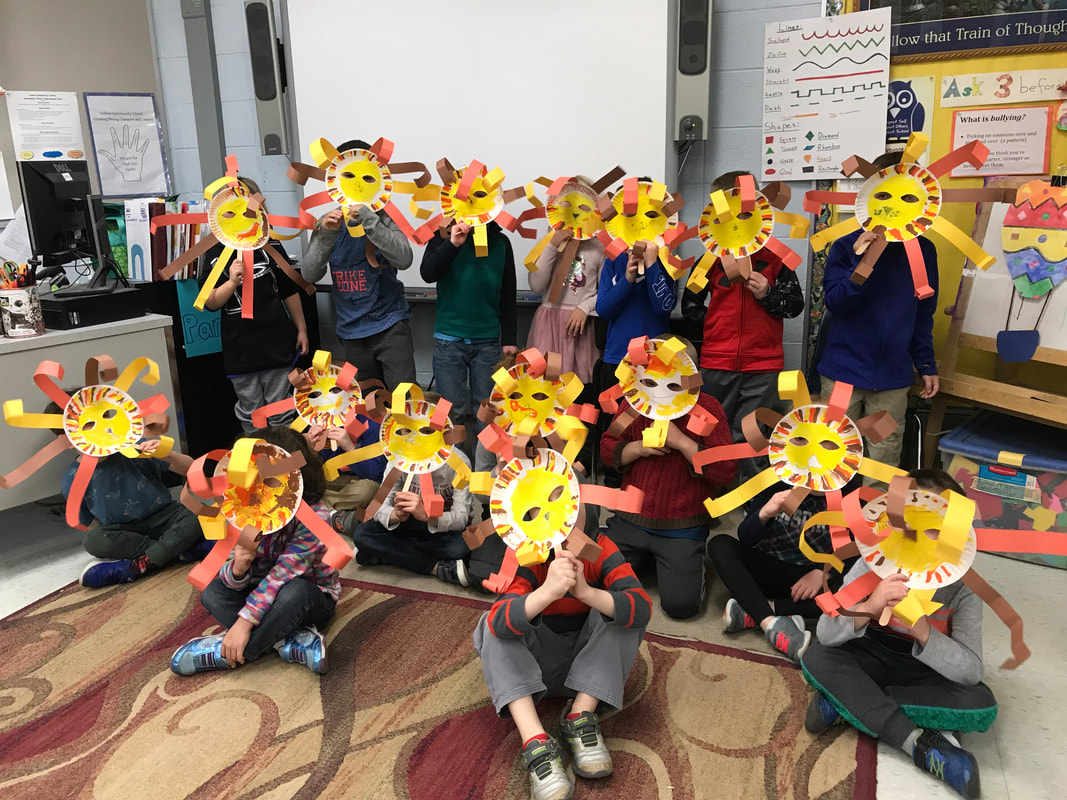 March comes in like a lion and goes out like a lamb! This makes for a great art lesson - lion masks! To prepare, the materials needed will be: cheap, uncoated paper plates, yellow, orange, red and brown tempera paint, colored paper strips precut using yellow, orange and brown, and a popsicle stick. Two things you can prepare first: Precut the eyes in the paper plates and precut the paper strips for the mane. I let students staple on the strips so would make sure the staplers were loaded with staples ahead of time. I advise starting with a picture book about lions - my favorite for Kindergartners was a delightful 1954 book by Louise Fatio called The Happy Lion which I used to teach my students about the importance of manners and not judging others by their appearance. Next, I would review what a pattern is (yellow, orange, brown - yellow, orange brown). Day One: Begin by having your child paint the yellow face and blow dry or set aside to dry. Next, have your child paint small stripes in a pattern of brown, orange and yellow around the edge of the paper plate following the imprinted lines on the plate. I used q-tips for my 5 year olds, with one q-tip for each color. If the q-tips got "stringy", we just used a new q-tip. Day Two: After the paint dries, I would show your child/student how to curl pre-cut strips of brown, orange and yellow paper around a pencil or their finger. Lastly, I taught my students how to safely use staplers and let them staple the strips IN A PATTERN around the plate (curl facing inward) to create a colorful mane for their lion. Hint: Remind them to keep their fingers outstretched and straight, never curled around the stapler and not to bang on the stapler. Then go on a lion hunt! Masks are always a hit! Variations I have done include dragon masks and Elmer the Elephant masks!
|
Archives
March 2024
AuthorMy name is Mrs. Krupa and I'm an elementary art teacher at Oxbow Elementary. I'm a professional harpist turned art teacher of 20 years. I'll share art lessons and ideas on these pages, what works and doesn't. Enjoy! Categories
All
|
 RSS Feed
