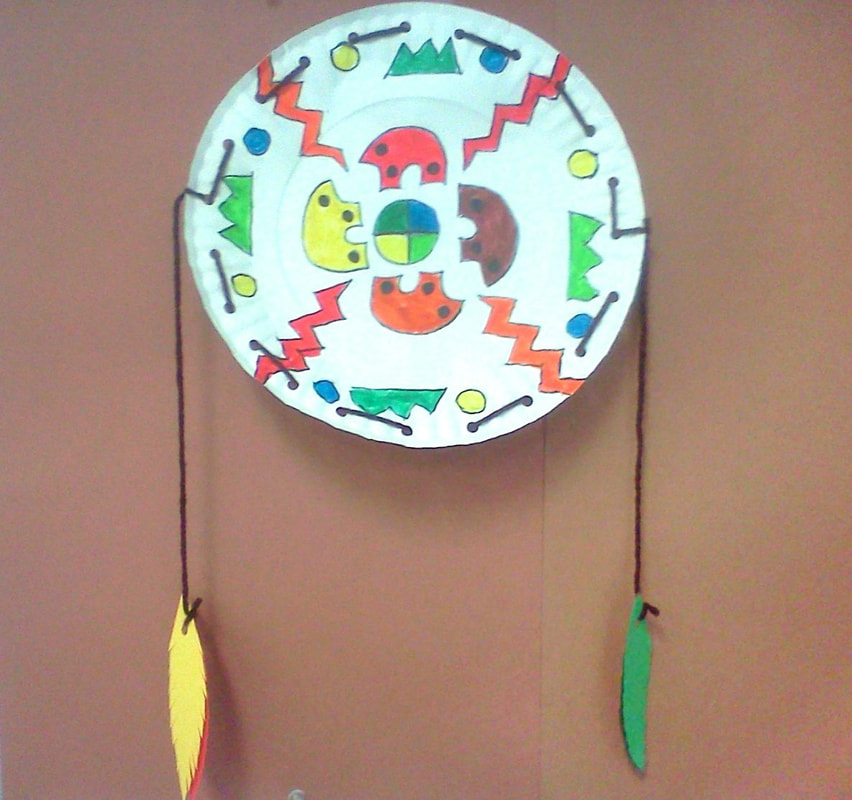
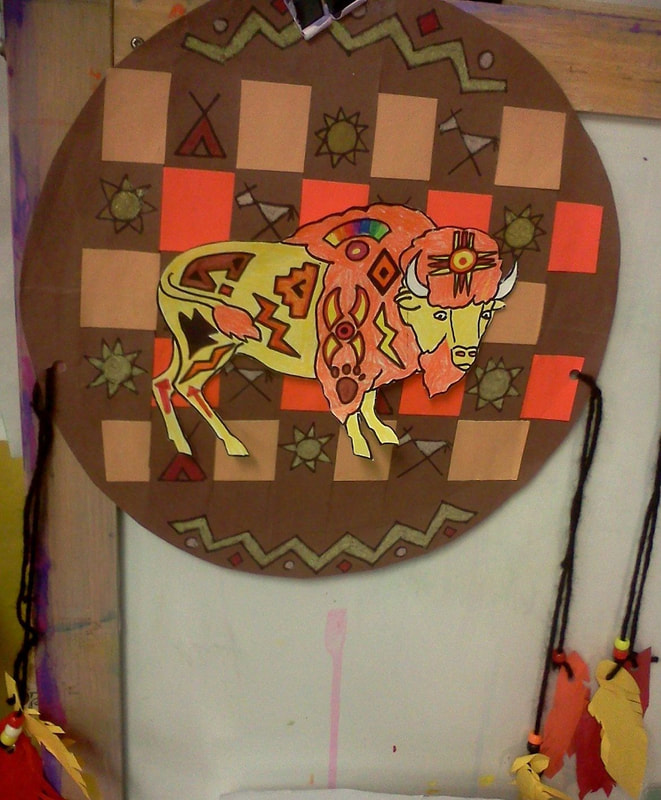
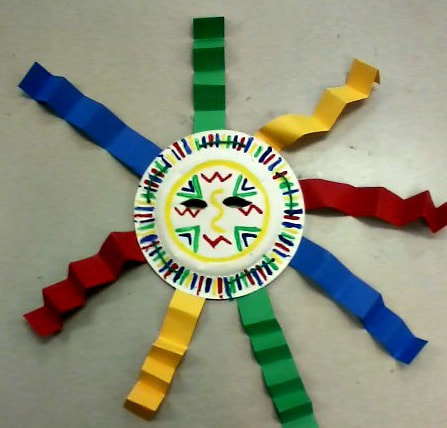
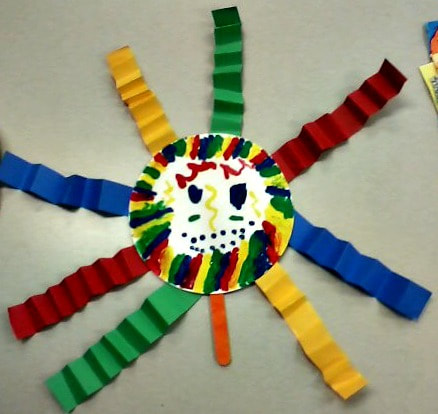
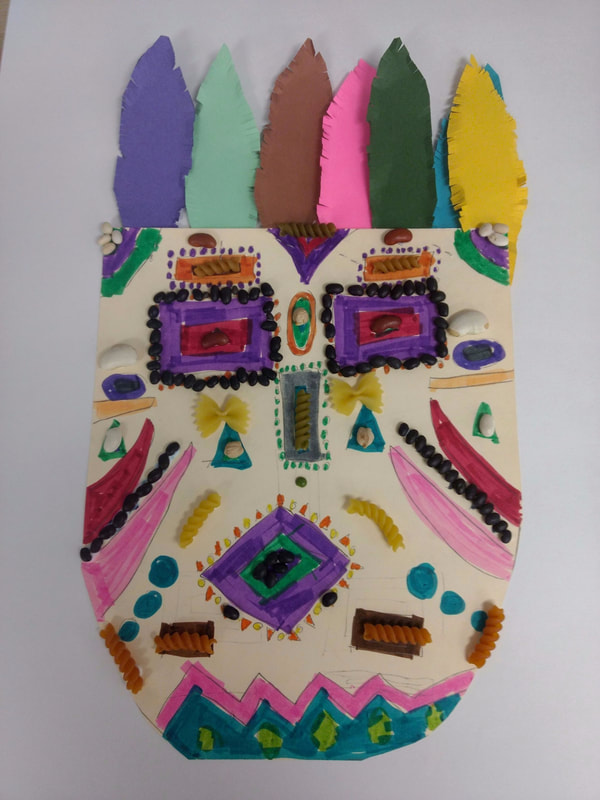
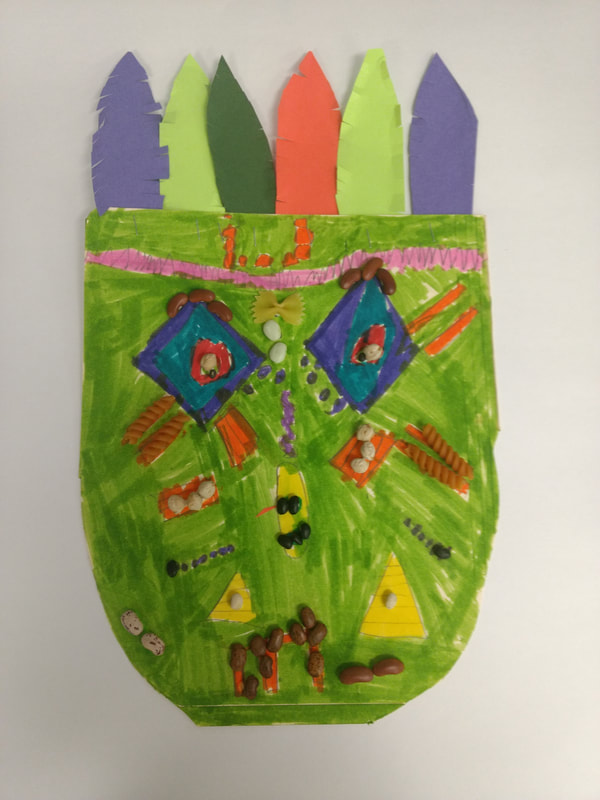
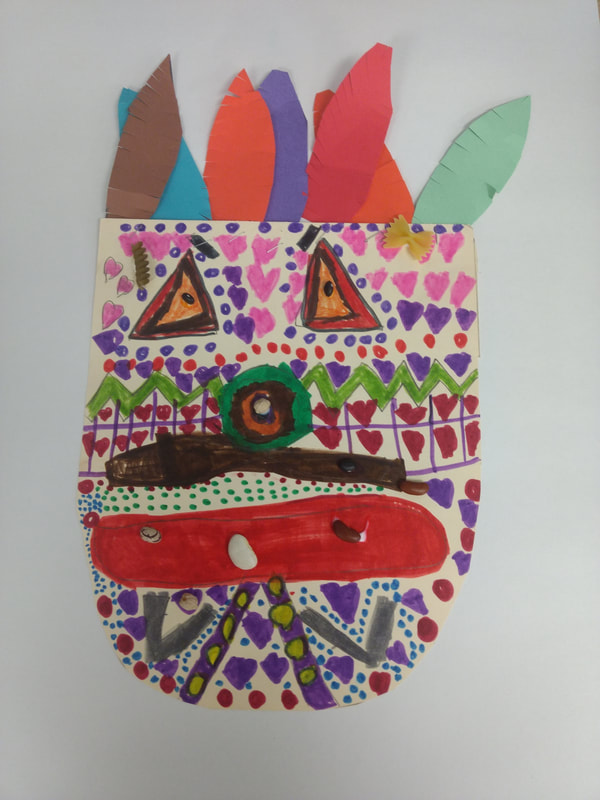
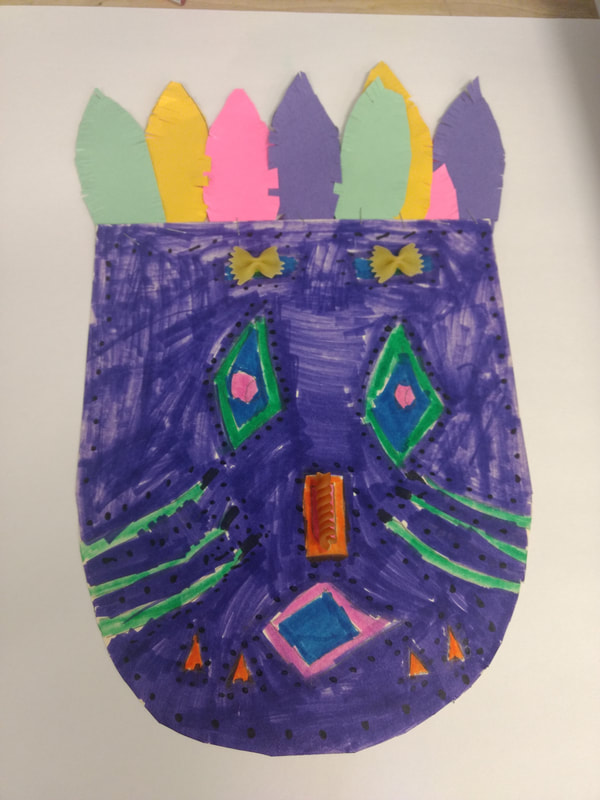
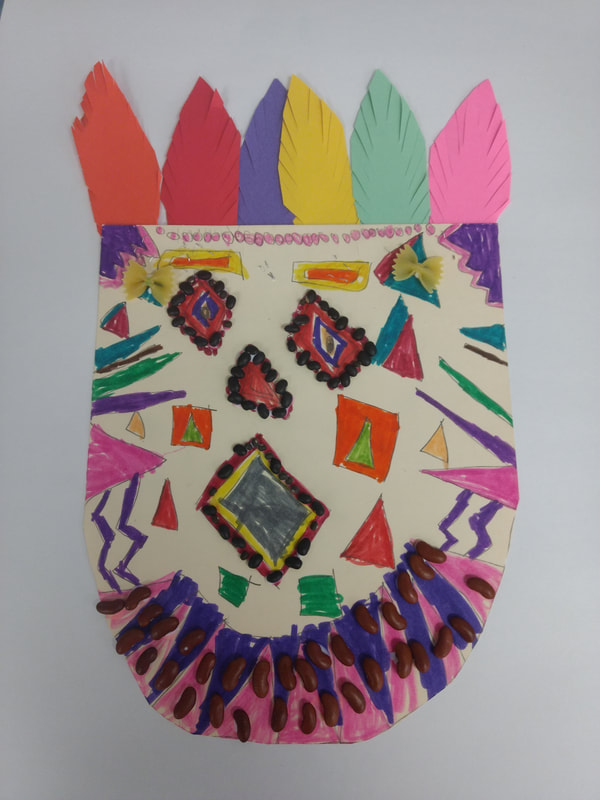
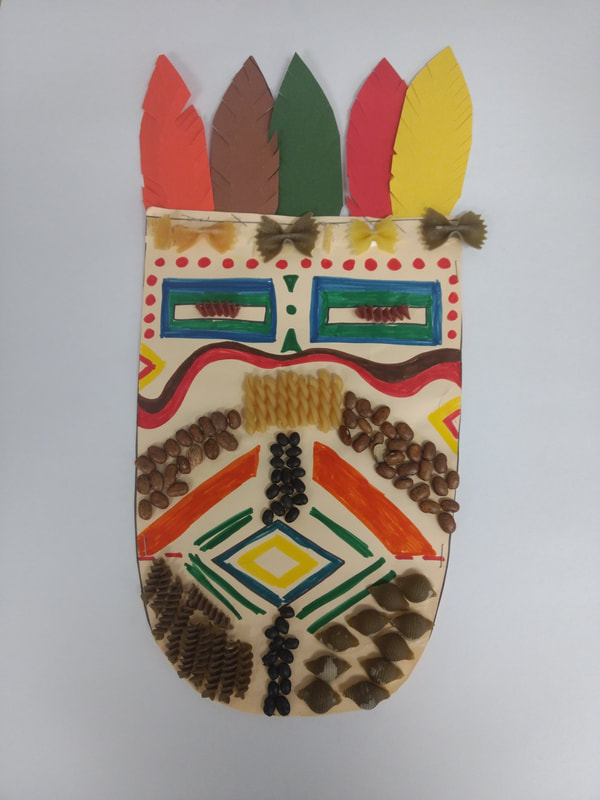
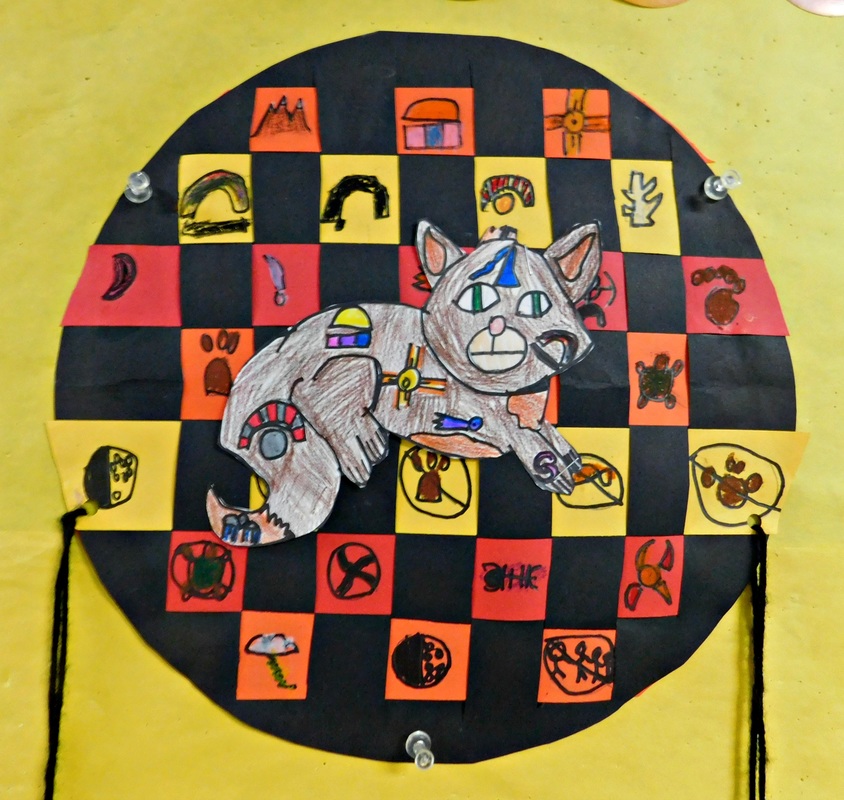
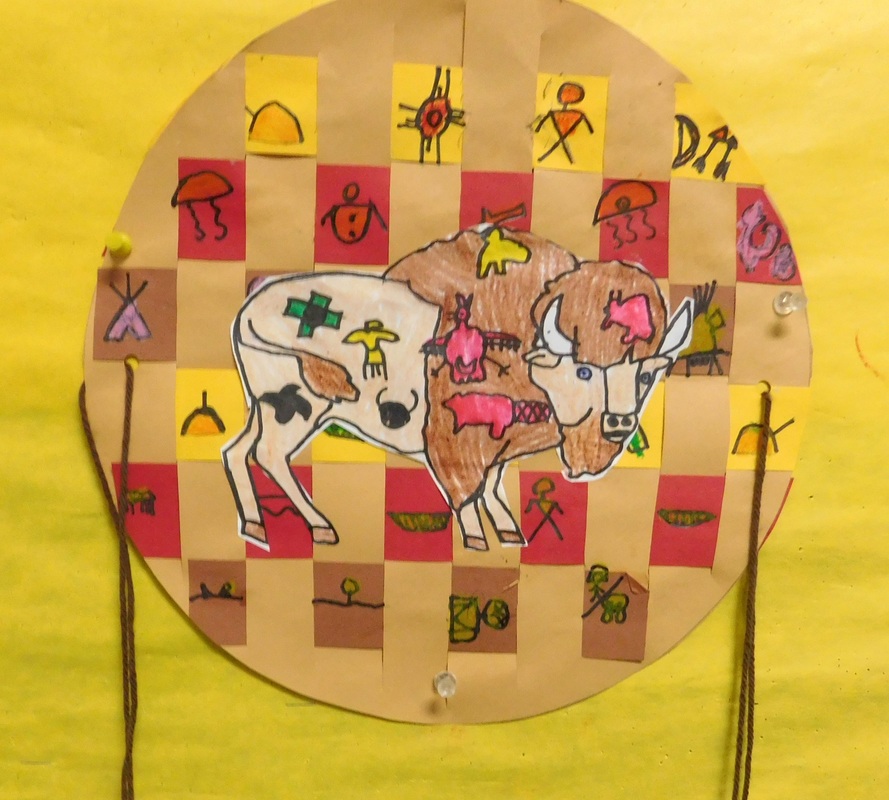
This is a quick one day make and take project for substitute teachers or parents with children at home. Usually I google "Native American shields" to look at designs and authentic shields. To begin, fold a paper plate in four equal sections. Then in each section draw shapes and designs or pictographs that are "the same" as much as possible, that mirror the the opposite corner. Then outline with black sharpie marker and color each design or shape with markers, keeping them simple and large. Finally paper punch around the plate holes that are two finger widths apart. Weave over under (or over around) with yarn, then finish the shield off with paper feathers. If shapes or pictographs are drawn large enough, these can be completed in one hour, give or take.
0 Comments
This project is targeted for third through fifth grade students. When I taught this lesson we began by examining a variety of Aboriginal Dot Paintings from Australia, both contemporary and prehistoric, and noted a running theme across centuries: native animals. Animals were important to Aborigine survival and were a large part of their day to day lives. Step one is to pick one wild animal to depict in this dot painting. Next, carefully draw the animal in pencil. Using tempera paint, fill the inside of the animal with dots either with the eraser end of a pencil or with a q-tip (though q-tips tend to be messy). Finish off the designs with concentric circles, which is a common theme in many Aborigine artworks.
I began this unit with an excellent old video from Reading Rainbow that showed the painting of a stylistic sunset carefully painted on a hide followed by the reading of the book The Indian Paintbrush by Tomie dePaola (should be available on YouTube or just read this lovely book yourself). Lower el students then learned how to paint a sunset step by step using vibrant colored tempera cakes (week one). The second week they used different types of lines and pictographs to decorate different sizes of teepees drawn with markers on tan colored construction paper. The third week, we talked about foreground, middleground and background (to add depth). Then students were shown how to cut out and glue the smaller teepees higher on the horizon line as if they were farther away (background) with the middle sized ones placed mid-way up on the grass (middleground) and finally the larger ones were glued lower down toward the bottom of the page (foreground).
Meanwhile, upper elementary students watched a Power point showing various authentic Native American war and medicine shields, as well as hides and teepees with painted pictograph designs. Students learned that pictographs were used by Native Americans to record important events. Then on to creating beautifully woven Lakota dancing shields! Students traced and cut out a large dinner plate sized circle in brown, tan or black paper, folded the circles in half and cut inch-wide sections from the fold almost to the edge of the circle. Next they wove colored strips in a pattern filling their shields ("over under, over under"). Week two, I either read an actual "book" with a pictograph story or showed this brief slide show with examples of pictographs used in every day Native American life. https://www.slideshare.net/ChrisNoel1/native-american-44232313 Then students "wrote" their own story using pictographs which they drew on the alternate woven squares on their shields using pencil then sharpies and oil pastels. Week three they decided on their personal animal totem to add to their shield. Their animal was drawn on copy paper, filled with pictographs and designs, then outlined in sharpie and colored with markers and/or colored pencil. Week four, they carefully cutout and glued their totem animal onto the middle of their shield, adding yarn ending with hand made feathers. Kindergarten students learned about caring for Mother Earth based on the story Brother Eagle Sister Sky by Susan Jeffers. We talked about throwing our trash into the garbage can and taking good care of animals. Next students painted line designs using different kinds of lines followed by a pattern around their paper plate using q-tips dipped in tempera paint. Week two, students folded strips of paper for the rays of the sun and stapled them in a pattern around their Aztec Sun mask.
My number one passion as a trained science and art teacher, is to instill in my students a love and respect for the animals on our amazing planet. A key part of this is teaching them the importance of each animal in an ecosystem, how it's loss would not only affect the food chain/web but would also take us one more step away from earth's beautiful diversity of plants and animals. From the lowly bees to massive giants such as the soon to be extinct Northern White Rhino, every animal is important! To kick off this year's endangered animals unit, my third through fifth graders walked into my art room to find a table covered with delicate Oaxacan wood carvings of rain forest animals from Mexico. I have a treasured collection of these beautiful sculptures which really are quite amazing. Next, we looked at a Power point showing more examples of this unique art carved by the artisans of Oaxaca in the mountains of Mexico. They carve wood from the soft copal tree. Interestingly, even small children help with the basic carving and painting - though men typically do the carving and women do the intricate, detailed painting. Then students picked out an endangered animal and delved into Internet research to learn more about what is driving their animal toward extinction. Building on this knowledge, they came up with their own ideas to save it. Week two, students carefully formed their creatures out of clay and I fired them in our kiln, followed by the colorful painting of patterns and designs. I will post photos when these sculptures are finished. Visit this website for more information on specific animals, their habitat and what threatens their survival: https://kids.nationalgeographic.com/animals/ Below is an excellent example of the Endangered Animal reports our students wrote. Eastern Gorilla
By: Jake V Eastern gorillas are critically endangered and the largest living primate. Their habitat is the rainforest. Their adaptations for living in the rainforest are they need to be able to eat and digest the food around them so they have flat teeth that allow them to be able to grind the plants they eat. The reasons why the eastern gorilla is endangered are partly because gorillas live in a very restricted area. Another reason is habitat loss - the eastern gorillas habitats have been cleared into chunks. To keep the eastern gorillas from extinction, have the community make their habitat safer with restricted limits on use, since the reason they’re endangered is habitat loss. The eastern gorilla’s diet is 67% fruit, 17% leaves, seeds, and stems, and 3% is termites and caterpillars. They live in the forests of central and western Africa in Equatorial Guinea, Angola, Cameroon, the Central African Republic, Congo, Gaboon, and the Democratic Republic of the Congo. Some interesting and unusual facts are gorillas have unique nose prints, much like human fingertips, which can be used to identify individuals. Gorillas are the world's largest primates. Gorillas are mostly herbivores, they spend most of their day foraging for bamboo, fruit and leafy plants. There are two species of gorillas. They both live in central Africa. As roaming herbivores, gorillas play a vital role in seed dispersal. Many large fruit trees depend upon these animals to survive. Students watched a slideshow of a variety of different multi-cultural masks. I showed them everything from Balinese masks, to African, to Native American masks. Then students used shapes, lines and symbols to complete their design. The following week they added beans, pasta and feathers. These were quite the hit with the first and second graders.
This lesson was adapted from a lesson in the magazine Arts and Activities. Third graders learned about the intricate artwork in the dragon used in the Chinese dragon dance. Next, they cut out a colorful dragon head and body, adding patterns of cut paper for symmetrical designs. Finally, crepe paper was added for a tail.
Lower el students painted a sunset, then used different types of lines to decorate teepees. To add depth, we talked about foreground, middleground and background and students were shown how to place the smaller teepees higher on the horizon as if they were farther away.
Fourth and fifth grade students used paper strips to weave Native American shields. Next they "wrote" a story using pictographs. The following week they decided on an animal totem to add to their shield. Finally, they added pony beads and feathers.
Kindergarten students at Oxbow learned about caring for Mother Earth based on the story Brother Eagle Sister Sky. We talked about throwing our trash into the garbage can and taking good care of animals. Next students painted line designs using different kinds of lines and then a pattern around their paper plate using q-tips dipped in tempera paint. Week two, students folded strips of paper for the rays of the sun and stapled them in a pattern around their mask.
|
Archives
March 2024
AuthorMy name is Mrs. Krupa and I'm an elementary art teacher at Oxbow Elementary. I'm a professional harpist turned art teacher of 20 years. I'll share art lessons and ideas on these pages, what works and doesn't. Enjoy! Categories
All
|