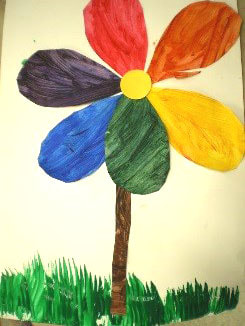
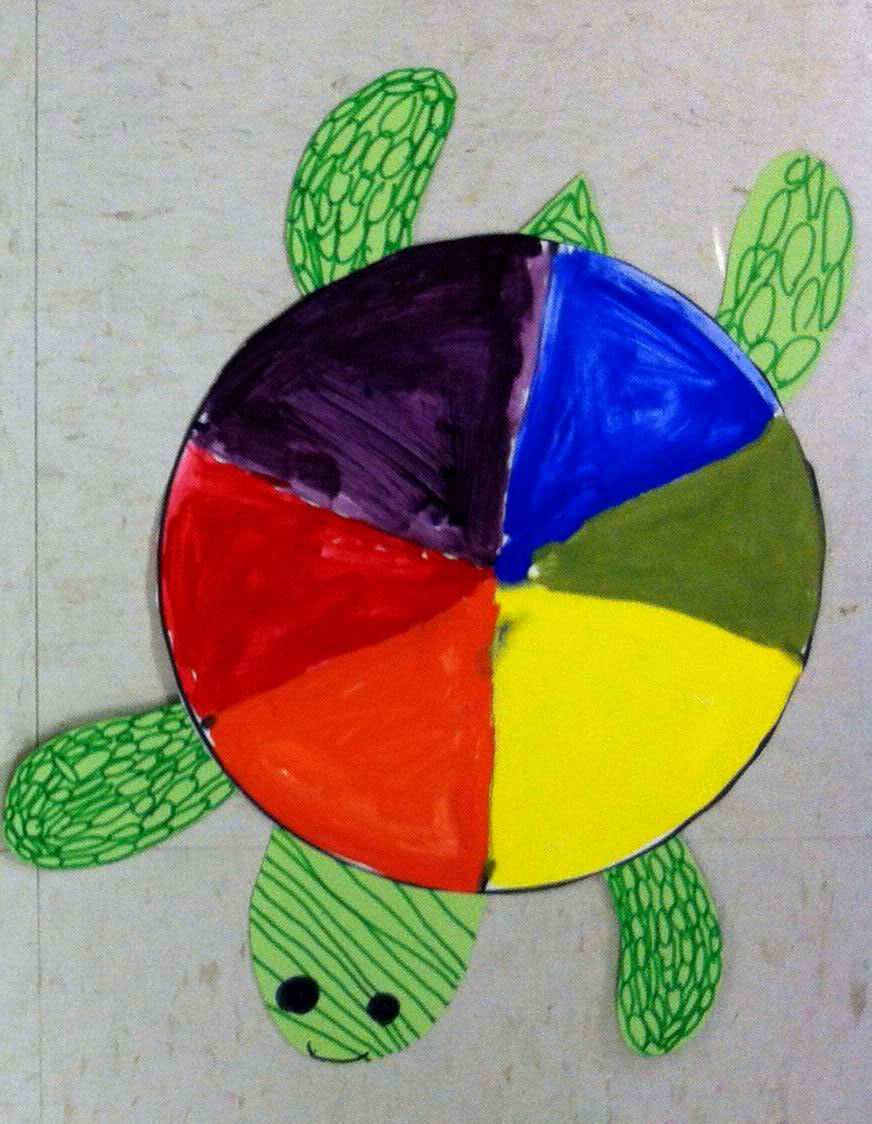
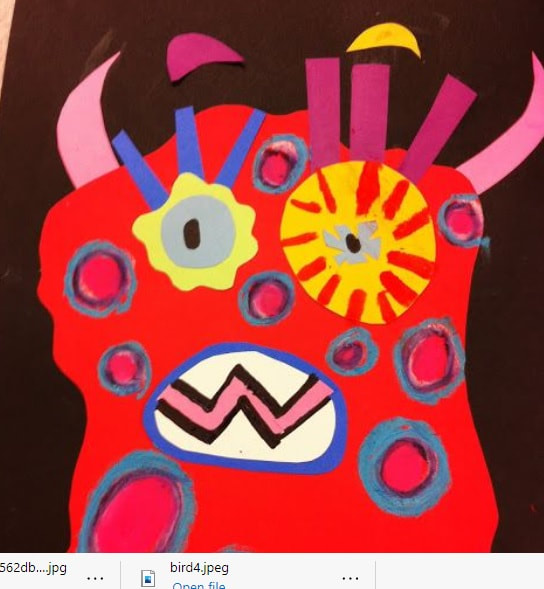
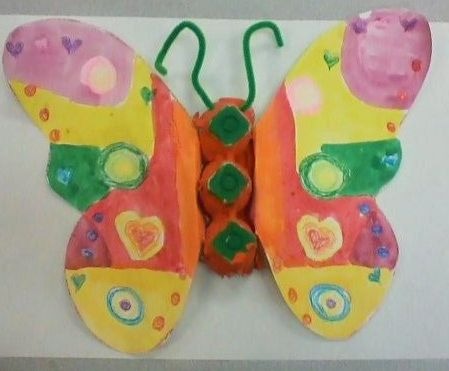
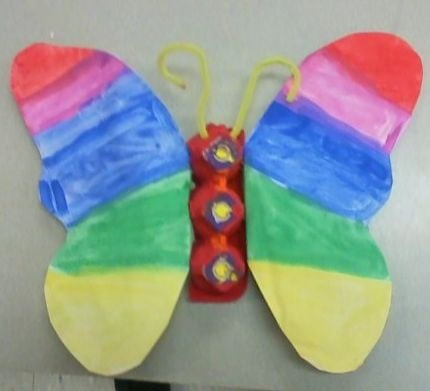
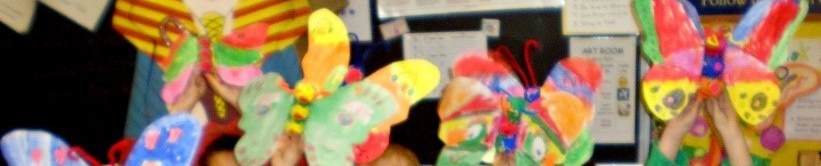
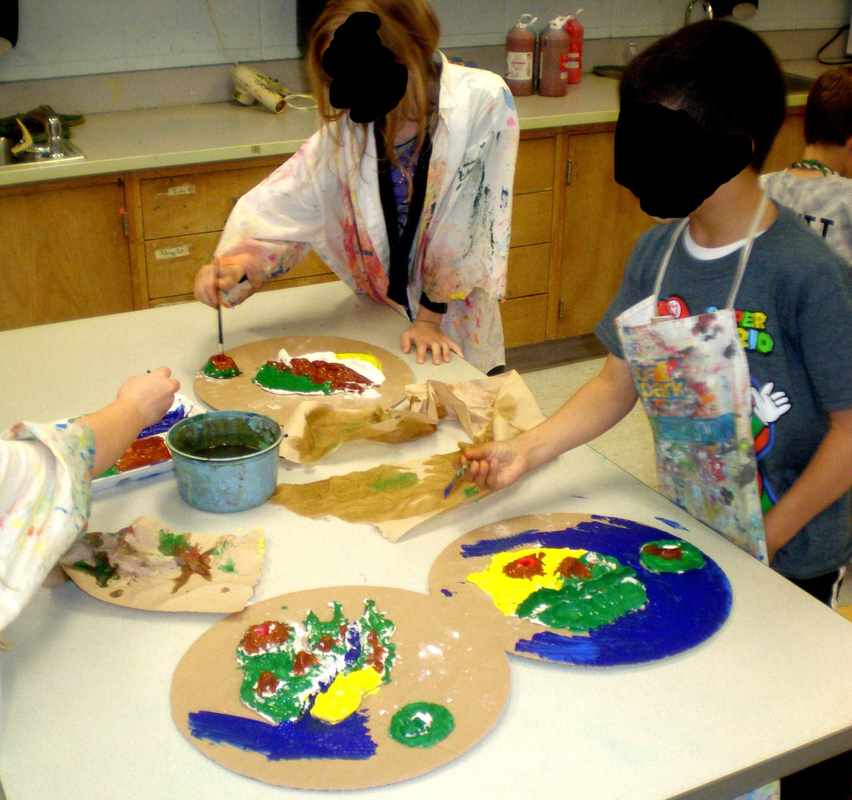
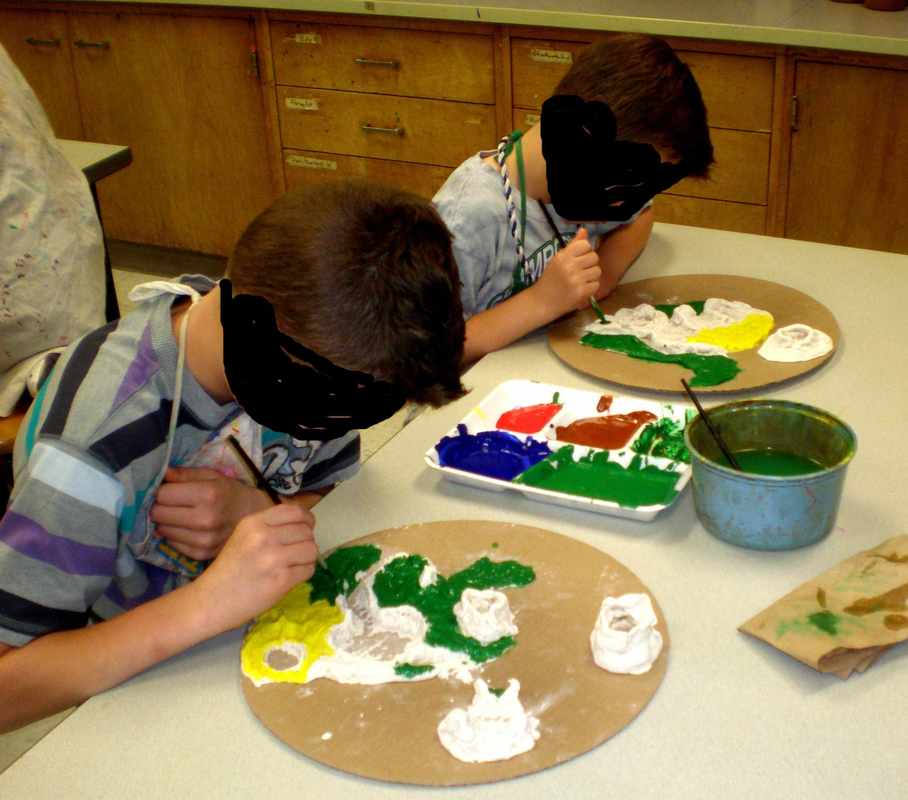
This is an easy, fun activity for almost any age group but is especially fun for kindergarten through second grade. Simply pour out small amounts of tempera paint in the three primary colors: red, yellow and blue onto a paper plate. Provide a paint brush, cup of water, paper, and a paper towel for each child. Demonstrate how to mix secondary colors from two of the primary colors (for example, red and yellow mix to make orange). Then let them experiment to mix their own new secondary colors: orange, green and purple. Art teachers typically will then have their students create a color wheel flower or a color wheel turtle. For older children, you can take this a step further by adding a dab of white so they can mix pastels and colors such as pink or turquois which they can then use to paint abstract art or flowers. A great springtime activity!
0 Comments
First, thanks to DripDripSplatterSplash at blogspot.com for this lovely image of a monster! Start with an easy and exciting "texture" treasure hunt. Hand your child or student a paper bag and send them on a hunt for magazines, newspaper, hair ties, buttons, paper clips, yarn or ribbon, corks, anything they can find to use to create a collage they will cut and/or glue onto a page. Next, provide scissors, Elmer's glue and colorful paper they can use to cut up big shapes to start with. Ask them to create a "shape monster" with difference shapes using the colorful papers, magazine paper, or even strips of paper folded into legs and arms. The more "texture" added, the better! Texture adds interest but what is texture? It's the way something feels - rough, bumpy, smooth, slimy. This monster then can be glued onto a page from a magazine or newspaper, or part of a cereal box. Remind them to add details such as eyes, horns, nails, tails, claws, spots, etc. using the found objects. (Note: Something like corks or 3D items may require a hot glue gun but I would supervise this IF you have one). In the fall, this treasure hunt coule be for leaves, acorns, grass or things from nature. During the holidays, use wrapping paper or old cards. Older children can paint their papers. The sky is the limit! Have fun!
Springtime! Time to learn about the life cycle of butterflies. Time too for a 3D integrated art and science project using recycled cardboard egg cartons to make butterflies. The lifecycle of a butterfly is fascinating... how they grow from an egg to a caterpillar to a chrysalis (a hard outer casing for the developing pupa) and then into a butterfly. Throughout the years, Oxbow's first grade teachers have purchased chrysalis so students can watch the transformation and enjoy the butterflies emerging and stretching their wings. In my art class (and in your home) you can create your own beautiful butterfly. First recall that butterflies are symmetrical (the same on both sides). Also, each different type is different with different patterns and colors. I recommend using watercolor for the wings, but tempera will also work and adheres to the egg carton more readily. Have your child fold white construction paper and draw the wings of their butterfly and cut them out. Lay the wings on newspaper and paint them so that each wing mirrors the other with color and patterns. Next, cut the egg carton into a "body" with three segments, and paint them and set to dry. Once dry, take a pencil and poke a hole on either side of one end of the "head" in the cardboard. Then pull through a pipe cleaner that can be bent into antennae. Staple the wings onto either side. Beautiful!This is an interesting, colorful "cut and paste" collage lesson for third, fourth and fifth graders.(I would allow 3 to 4 weeks to complete, or one to two hours if a single collage is done by a student). Andy Warhol was a leader in the Pop Art movement who is most famous for his silkscreen portraits. Working with siblings or alone, the first step is to decide on a person or pet for this collage project. Possibilities include Mickey Mouse, Squidward, Sponge Bob, a pet, superheroes or famous singers. Next, draw the portrait in pencil on copy paper, making each feature a separate outline...i.e. draw hair, then glasses or hat, nose, mouth, neck or shirt. Each of these will become a tracer when cut out. Take four different colors of paper, and place a tracer over it. You can cut through all layers, but it is easier to trace it four times for four identical pieces, each in a different color. The final portrait should be laid out before it is glued together. This will result in four identical portraits out of colored paper, with each one having different colors. I taught this as a team project and it would be ideal for two or more siblings or students. Art students this month embarked on an interesting journey – a unit on dinosaurs! Third through fifth grades began by taking a virtual trip to a museum using our new Virtual Reality glasses. WOW! Students were very excited seeing dinosaur skeletons come alive and slowly move or swim around the room as a curator gave interesting facts about each dinosaur. First through fifth graders then created dinosaurs in their habitat while learning some art basics such as shading, how to create a landscape, and painting techniques. Lower el students watched Dazzle the Dinosaur by Marcus Pfister. Upper el watched Bill Nye the Science Guy. Then students followed a step-by-step lesson on how to draw and paint a landscape, followed by drawing their dinosaurs the following week. Third, fourth and fifth graders did research on chromebooks finding interesting information about fossils, what place their dinosaur had in the food chain, and a variety of interesting facts. We visited www.enchantedlearning.com for their research. Toward the end of the unit, teams of students were able to be paleontologists taking a bunch of wooden "bones" that they assembled into complete T-Rex and Stegosaurus skeletons. This took problem solving (no directions) and teamwork.
To finish off the year our third through fifth graders learned about the intricate designs often called Zentangles. I showed them examples of Zentangled shoes and animals filled with designs to get them started. I always invite my students to chat quietly yet still focus on doing careful, quality work. As they worked, I played peaceful, soothing music to get them in the zone. This was an excellent way for them to slow down, relax, talk, and still do their best without any pressure - anyone can do Zentangles!
First and second grade students leapt at the chance to create dragon masks. Using paper plates painted with rainbow patterns, students created Chinese dragons using curled paper strips and other details. It was a joy to see them so excited as they dived into completing these delightful rainbow colored masks.
It is April and time for our yearly second grade land form culminating project. I began with a Powepoint reviewing the different types of land forms the students had learned about in their classrooms. They studied everything from how mountains and hills are formed, to learning about the desert, how valleys and canyons are formed, plains, peninsulas, rivers, lakes, islands, and even volcanoes. After this quick review, it was time to get to mixing up their own salt dough! Many hands measured then squished and mixed the sticky salt dough. As soon as their hands got sticky, the students could barely contain their excitement! Next they pinched and formed the dough into mountains, islands and curving rivers. By the end of our hour in art, each child had created their own land forms. After a week of drying, we painted them using tempera paint. What a great way to complete this earth science unit!
Salt Dough Recipe: 2 cups flour, 1 cup salt, 1 cup hot water. Mix till consistency of bread or pizza dough. Make your creation. Let dry until hardened (it takes a week). Paint. To reinforce our March is Reading month theme of Rainbows of Kindness, my kindy, first and second grade students created Rainbow Ribbons of Kindness. First, we brainstormed things we could say or do to be kind and helpful to each other such as "Do you want to come sit with me" or "your hair looks nice." Next, I showed them how to draw wavy, parallel lines and paint them with rainbow colors. What a lovely way to reinforce kindness in our caring community!
The world of Pop Art is difficult to explain to elementary students. They understand realism, portraits and landscapes but the crazy ideas of Pop Art often befuddle my young students. Last year we looked at the art of Andy Warhol, and Keith Haring. This year, the focus is on Roy Lichtenstein portraits and Vassily Kandinsky. To kick this off, upper el students created pop art portraits in the cartoon-ish style of Roy Lichtenstein. The basics of creating a good portrait were explored, but then the creativity began when they added their own personal expressions (Wow, Kazoom, Boom).
|
Archives
March 2024
AuthorMy name is Mrs. Krupa and I'm an elementary art teacher at Oxbow Elementary. I'm a professional harpist turned art teacher of 20 years. I'll share art lessons and ideas on these pages, what works and doesn't. Enjoy! Categories
All
|