Kindy and Special Ed. Lesson
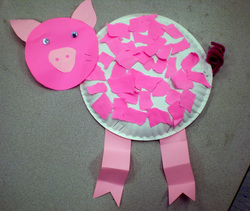
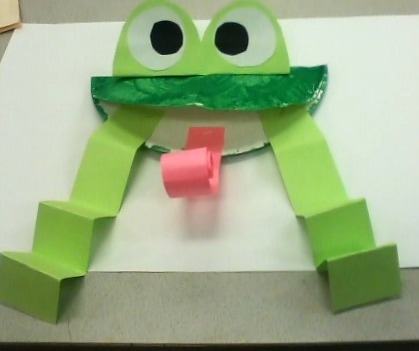
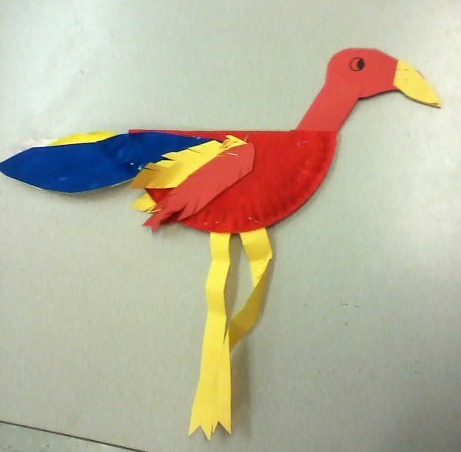
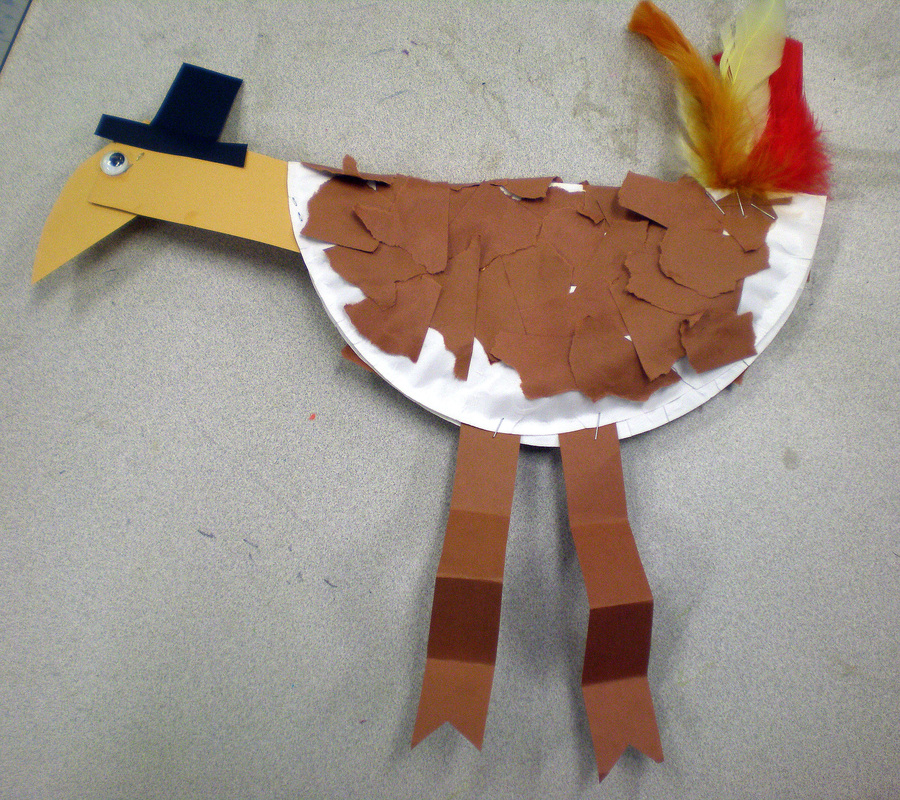
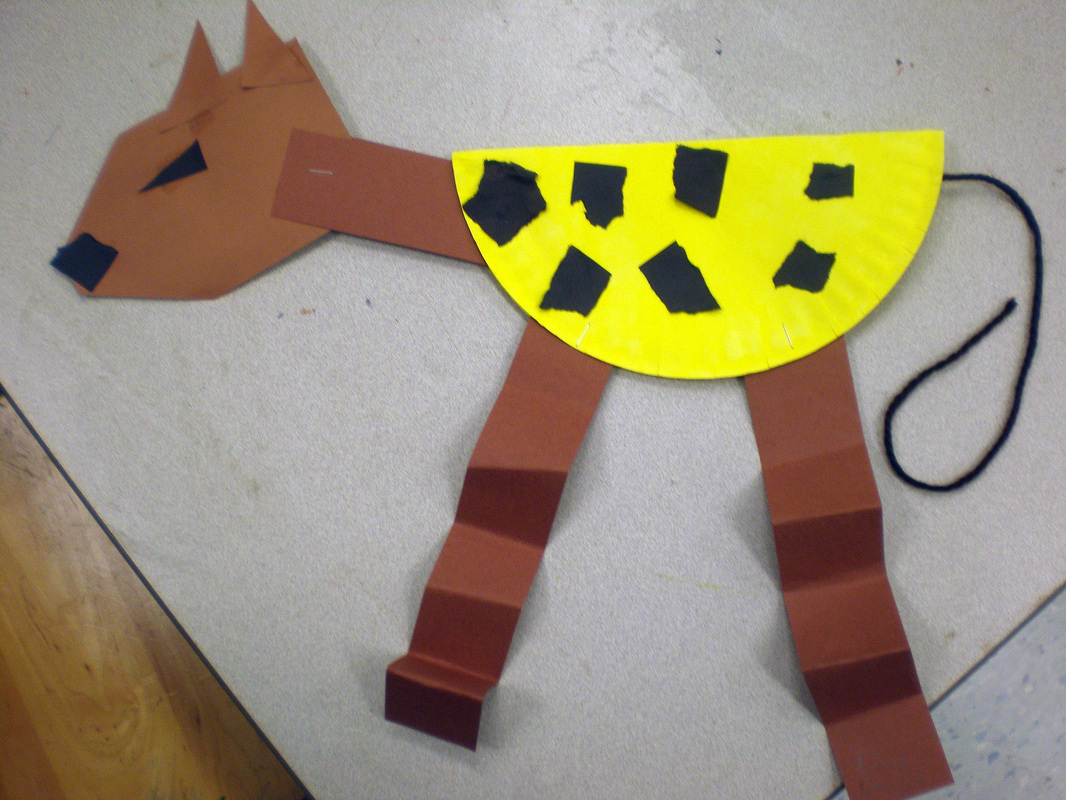
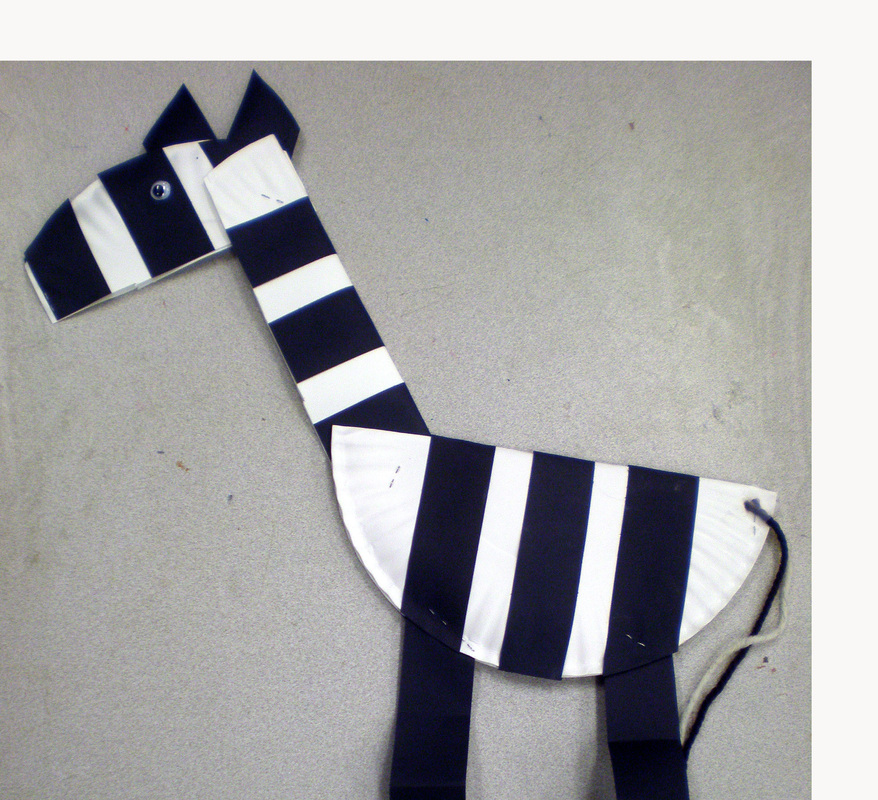
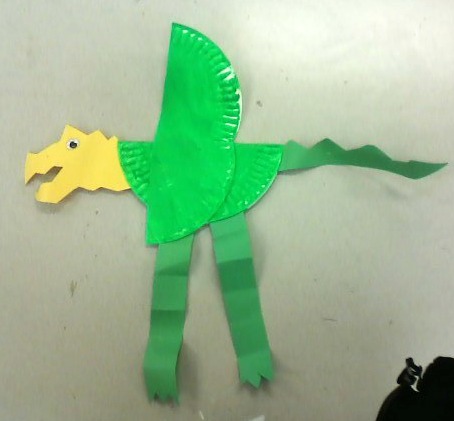
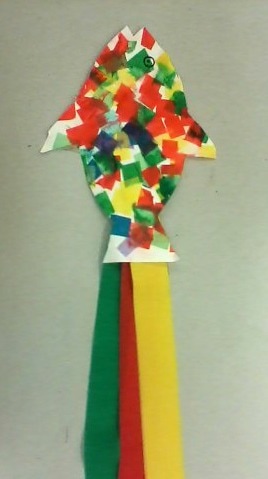
I teach art to cognitively impaired students as well as kindergartners at one of my schools. Making paper plate animals (or flowers) is a favorite and engaging lesson that works well to strengthen fine motor skills for our variously-abled young students. First, my students either paint the paper plate or tear paper and glue it all over the plate, depending on the animal. Next, they fold "bouncy" legs and cut toes and staple onto the plate. I teach my kindergartners the safe use of a stapler by demonstrating how to press down on the stapler using open, spread out fingers so there is no chance for fingers to curl under it and get hurt. Finally, we add the head, details like ears, nose, a curly cue tail from pipe cleaners, yarn hair, feathers, tail, googly eyes, etc. For colorful birds, fold the plate in half, glue on sequins and add feathers. The possibilities are endless!
I teach art to cognitively impaired students as well as kindergartners at one of my schools. Making paper plate animals (or flowers) is a favorite and engaging lesson that works well to strengthen fine motor skills for our variously-abled young students. First, my students either paint the paper plate or tear paper and glue it all over the plate, depending on the animal. Next, they fold "bouncy" legs and cut toes and staple onto the plate. I teach my kindergartners the safe use of a stapler by demonstrating how to press down on the stapler using open, spread out fingers so there is no chance for fingers to curl under it and get hurt. Finally, we add the head, details like ears, nose, a curly cue tail from pipe cleaners, yarn hair, feathers, tail, googly eyes, etc. For colorful birds, fold the plate in half, glue on sequins and add feathers. The possibilities are endless!
Paper Plate Flowers: Kindy, Special Ed
CCS.LS1.A: Structure and Function of Plants (and classification)
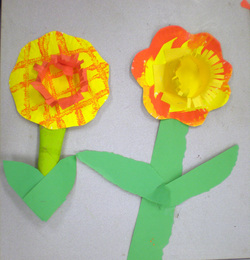
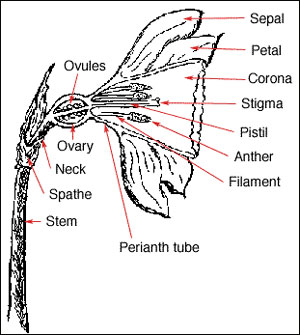
Another fun way to use paper plates and paper towel tubes is to create spring flowers such as daffodils. Week one the children painted the paper towel tubes green then set them to dry. Next they painted the paper plates yellow and went to the blow dryers to get them somewhat if not totally dry. [Note: I teach all my students how to use a blow dryer by demonstrating how to use them (hold a few inches from the object to dry, gently waving it back and forth, using a low setting) and how not to (blow drying hair, a friend or holding it too close to the paper), followed by how to do it correctly again. "If you want a behavior you have to teach a behavior."] Finally, they come to new station (the back counter or a separate table) where I supervise them in dipping the wheels of a toy truck or car into orange paint and rolling across their plate. Alternatively, with kindy we just finger print on the orange with little fingers dipped in orange tempera (not too much!). They then set this to dry in the drying rack. Week two students tear out green paper leaves and glue them to the paper towel tube. Next they cut around their paper plate in a wavy fashion (don't cut off too much I remind them). Now for the corona (yes, we learn some basic parts of the flower such as leaves, stem, petals, corona): I precut strips of yellow or orange paper and on one side I precut five small evenly spaced cuts. I show students how to cut fringe on the other side and how to fold open the five slits and bend them. Then the students glue the folded five edges onto the middle of the paper plate. Another fun easy way to make the corona is to paint precut sections of cardboard egg cartons during week one so they dry thoroughly. Then glue these on for the corona. The final step is to glue the flower onto the stem. Meanwhile, parent volunteers and I go around helping as needed.
CCS.LS1.A: Structure and Function of Plants (and classification)
Another fun way to use paper plates and paper towel tubes is to create spring flowers such as daffodils. Week one the children painted the paper towel tubes green then set them to dry. Next they painted the paper plates yellow and went to the blow dryers to get them somewhat if not totally dry. [Note: I teach all my students how to use a blow dryer by demonstrating how to use them (hold a few inches from the object to dry, gently waving it back and forth, using a low setting) and how not to (blow drying hair, a friend or holding it too close to the paper), followed by how to do it correctly again. "If you want a behavior you have to teach a behavior."] Finally, they come to new station (the back counter or a separate table) where I supervise them in dipping the wheels of a toy truck or car into orange paint and rolling across their plate. Alternatively, with kindy we just finger print on the orange with little fingers dipped in orange tempera (not too much!). They then set this to dry in the drying rack. Week two students tear out green paper leaves and glue them to the paper towel tube. Next they cut around their paper plate in a wavy fashion (don't cut off too much I remind them). Now for the corona (yes, we learn some basic parts of the flower such as leaves, stem, petals, corona): I precut strips of yellow or orange paper and on one side I precut five small evenly spaced cuts. I show students how to cut fringe on the other side and how to fold open the five slits and bend them. Then the students glue the folded five edges onto the middle of the paper plate. Another fun easy way to make the corona is to paint precut sections of cardboard egg cartons during week one so they dry thoroughly. Then glue these on for the corona. The final step is to glue the flower onto the stem. Meanwhile, parent volunteers and I go around helping as needed.
 RSS Feed
