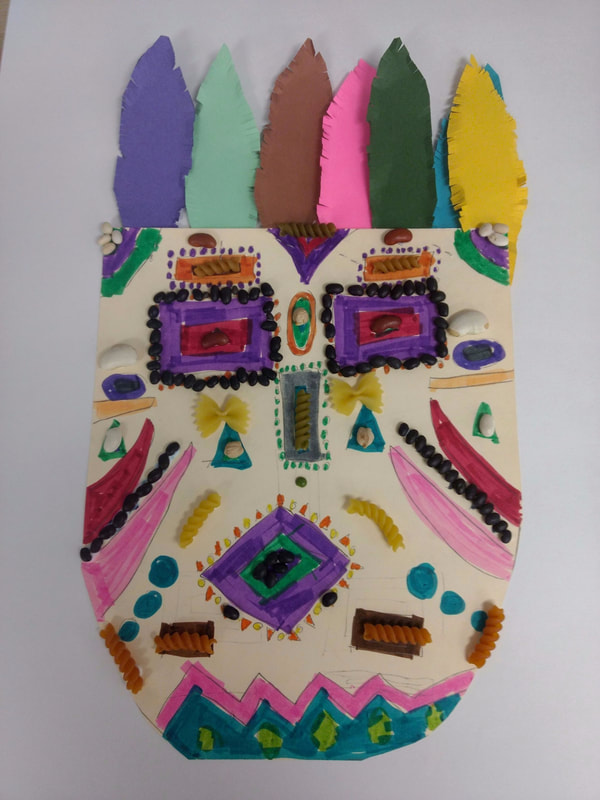
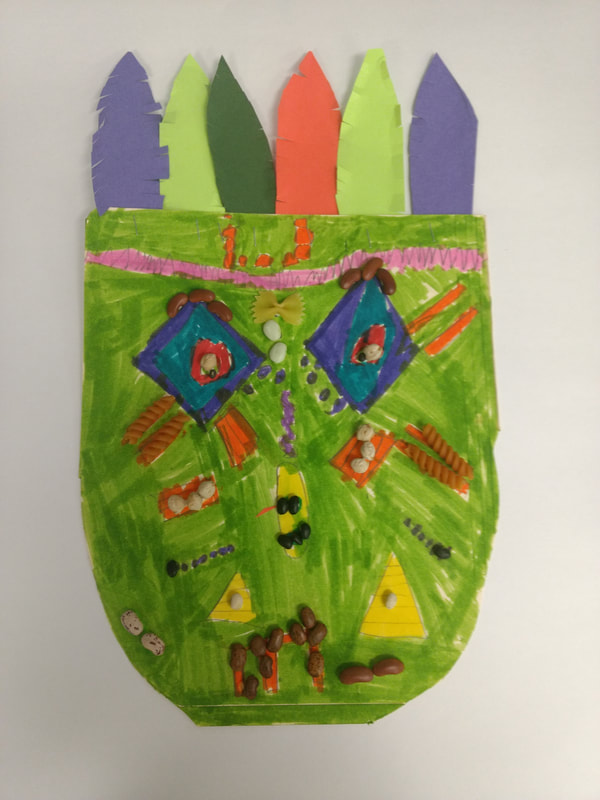
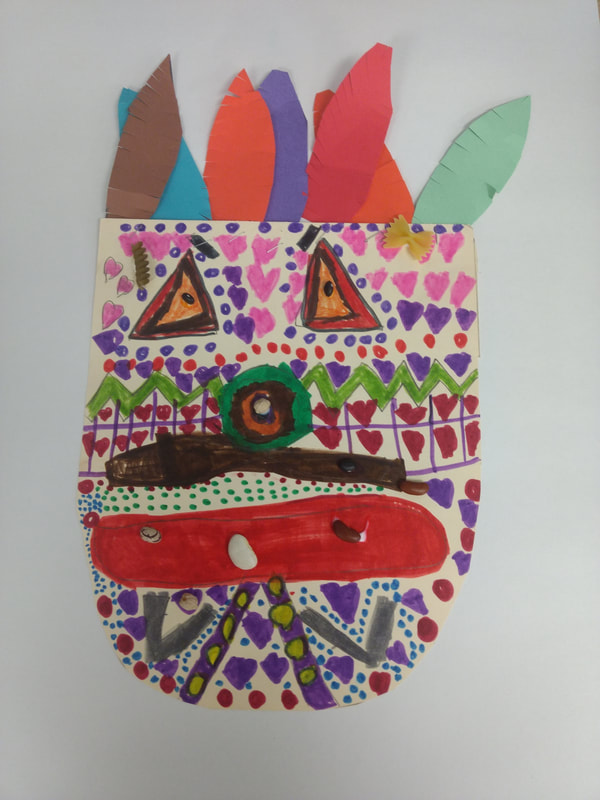
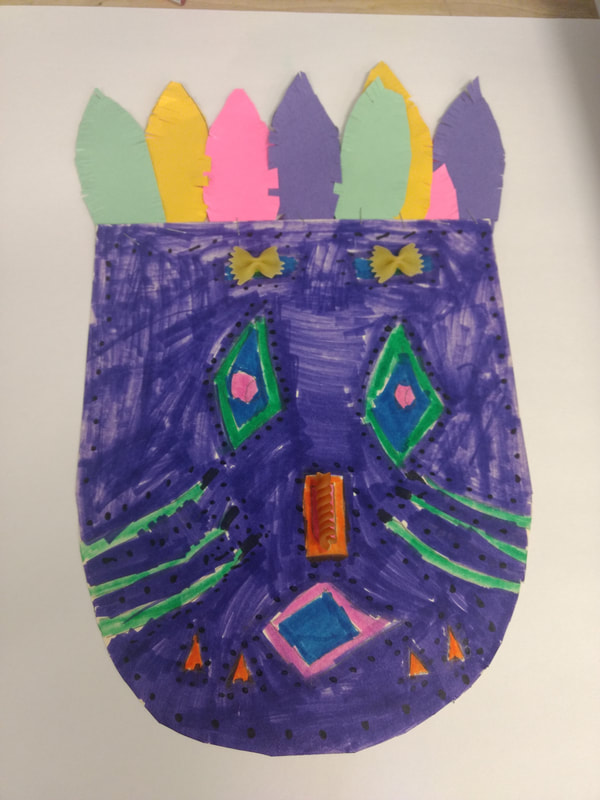
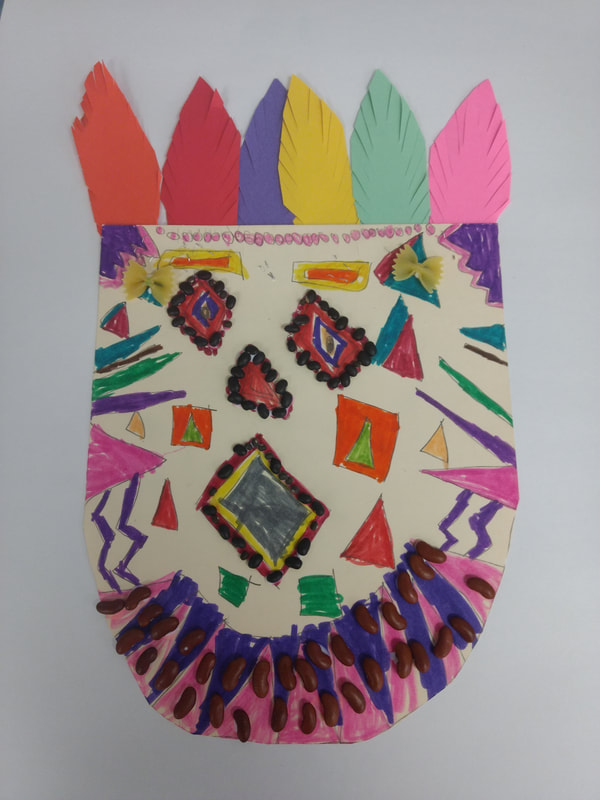
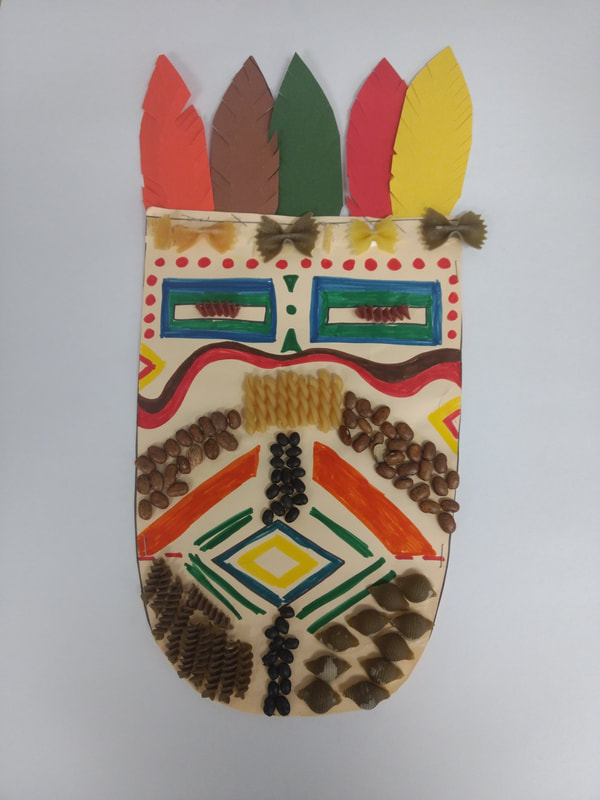
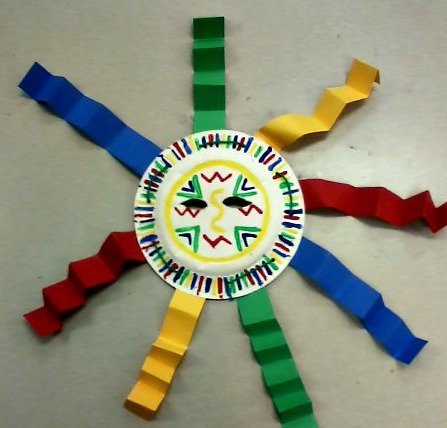
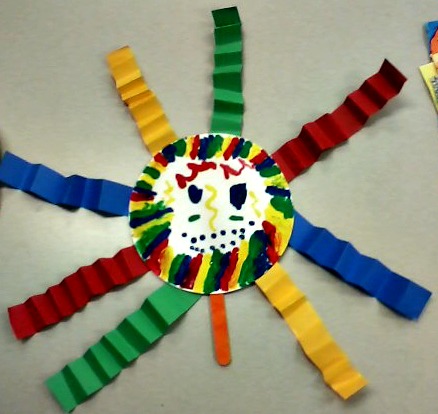
Students watched a slideshow of a variety of different multi-cultural masks. I showed them everything from Balinese masks, to African, to Native American masks. Then students used shapes, lines and symbols to complete their design. The following week they added beans, pasta and feathers. These were quite the hit with the first and second graders.
|
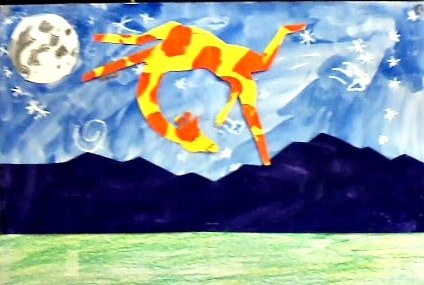
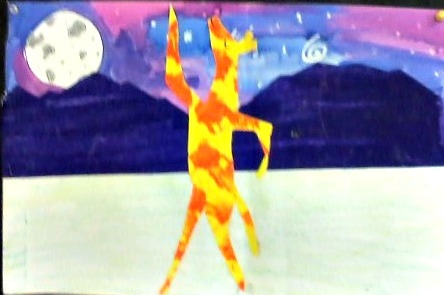
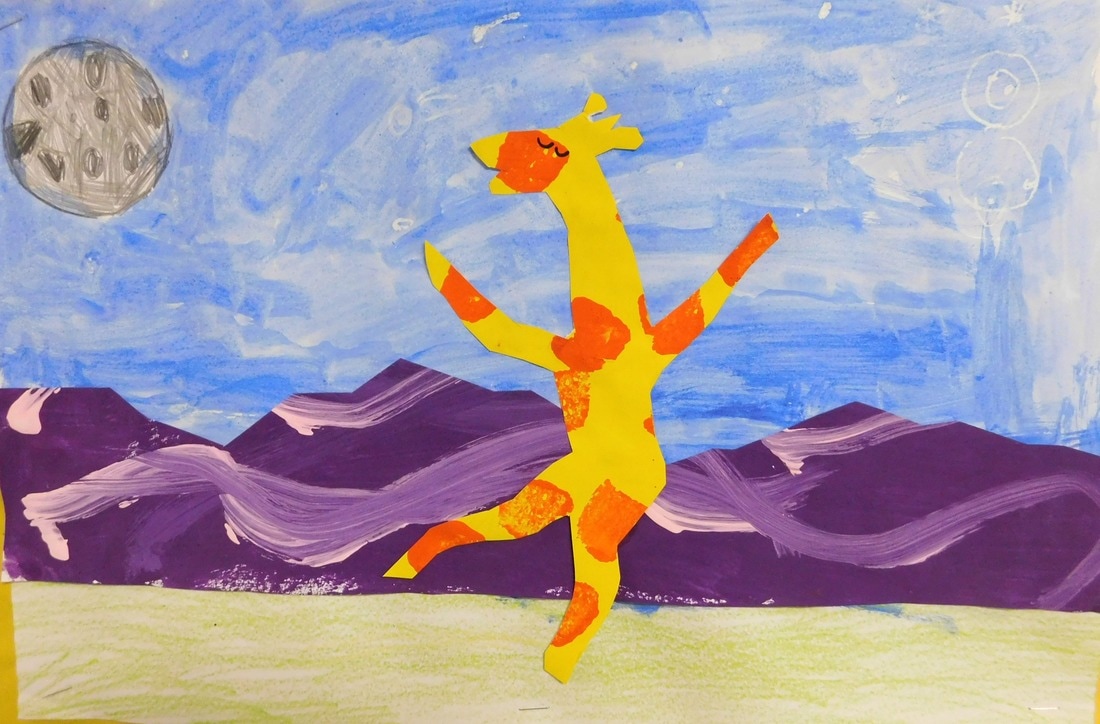
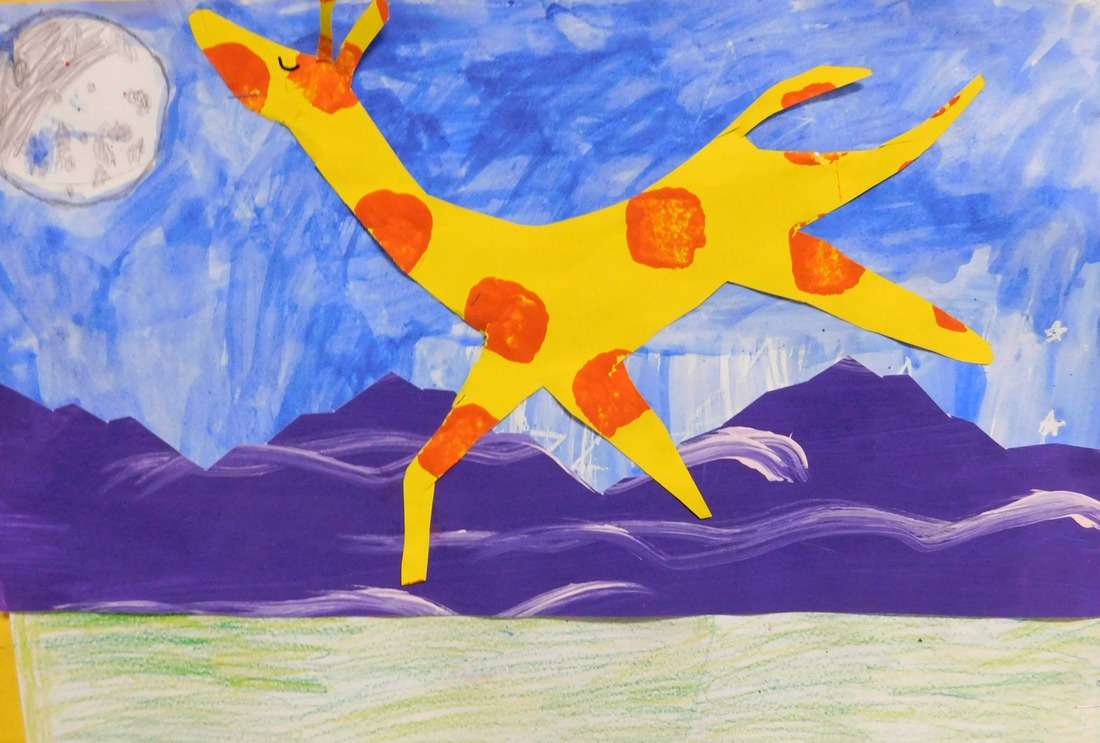
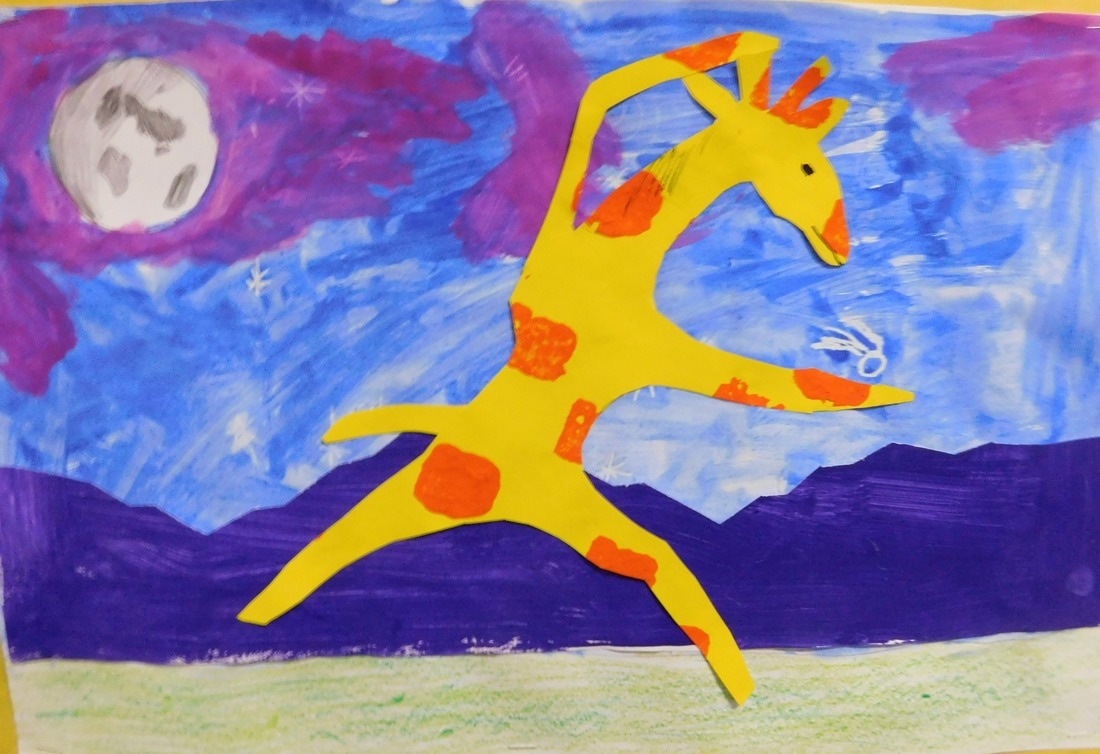
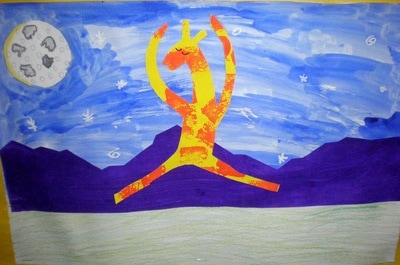
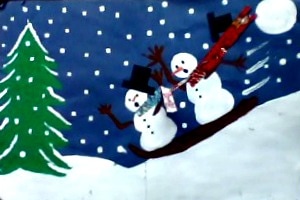
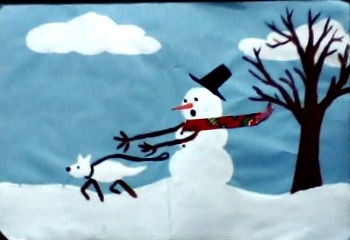
Third graders at Oxbow and upper el students at Highland listened to the delightful story Giraffes Can't Dance by Giles Andrede which tells the story of a clumsy giraffe who is bullied for being different. He learns to believe in himself and becomes the best dancer in the jungle. Students focused on shading to create 3D full moons, blending and painting techniques, then stamp painted the giraffe paper. The finished collages were awesome!  January in Michigan brings biting cold and lots of snow - time to get outside for some delightful fun sledding, snowboarding and skiing. Lower el students enjoyed painting snowmen having some wild winter fun! Then we glued on cloth scarves, hats, sleds and other details. No boring-just-standing-around snowmen for us!
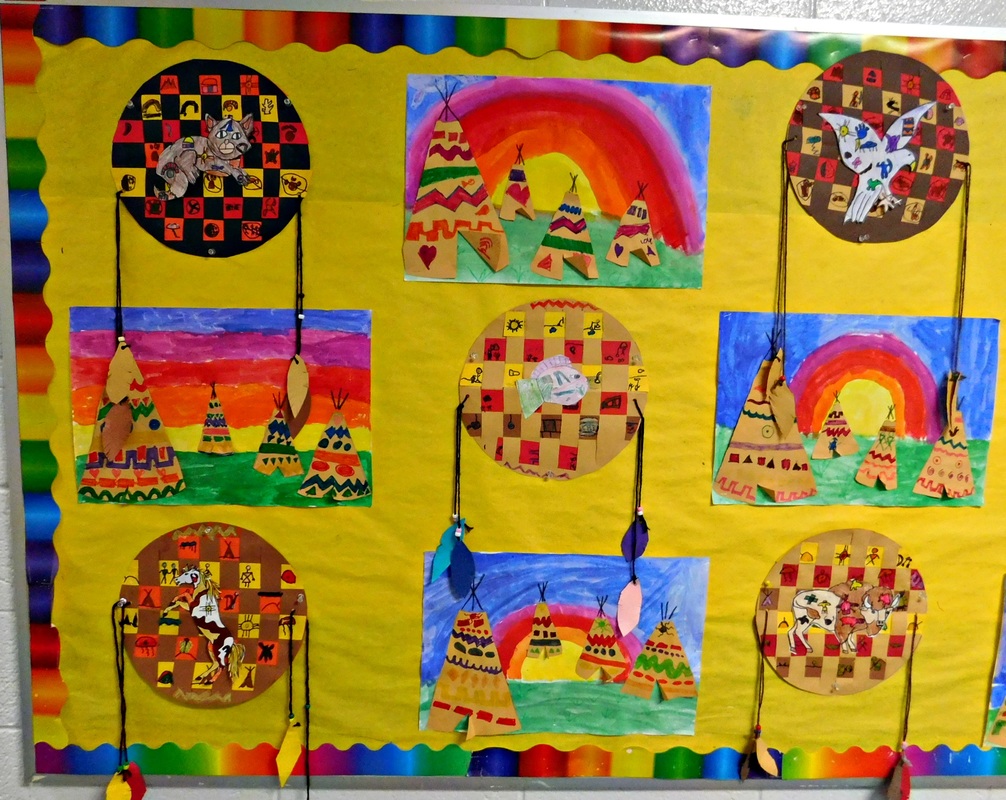 Lower el students painted a sunset, then used different types of lines to decorate teepees. To add depth, we talked about foreground, middleground and background and students were shown how to place the smaller teepees higher on the horizon as if they were farther away.
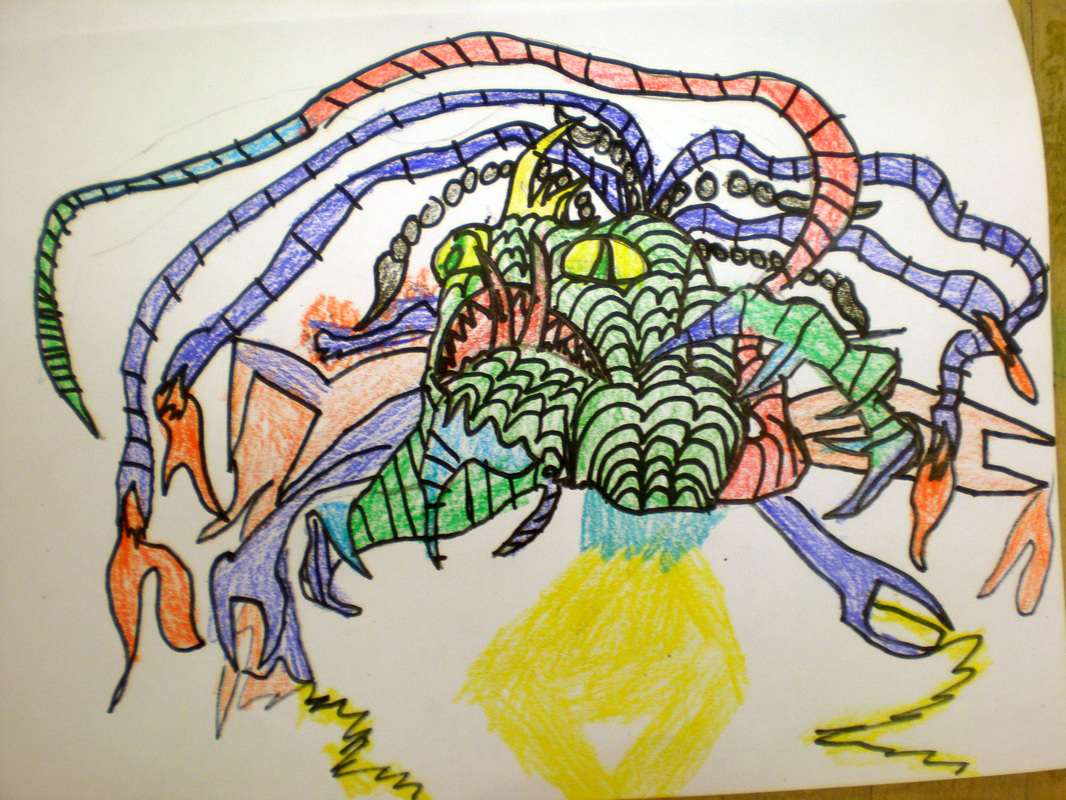 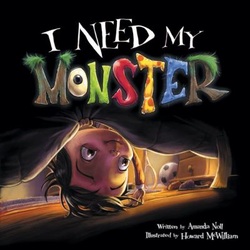 Grade 3, ELA, Descriptive Writing integrated with Art CCSS: ELA.W.3.6 ELA.W.3.4 Thank you to the following sources for inspiring me on this project: The Global Monster Project: http://www.smithclass.org/proj/Monsters/index.htm and www.teachingchannel.org/videos/3rd-grade-descriptive-writing Monsters Under My Bed: Week One This lesson began with my reading I Need My Monster by Amanda Noll. Students folded their 12 x 18 white drawing paper in half “like a book”. The first week, I guided them step-by-step in drawing the “cover” with a surprised child dressed in pj’s and sitting under the covers in bed. I invited them to add a tail sticking out from underneath the bed or a menacing arm reaching around the bedpost. They outlined their drawings in sharpie then colored them completely. 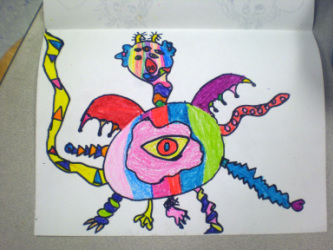 Monster Under My Bed: Week Two Students drew and colored their monsters on the inside, being sure to include lots of details like texture (scales, fur, warts, hair), appendages (tails, horns, ears, eyes, antennas, claws, shells, wings, etc) and many different colors. To introduce the pre-writing portion, I asked them to... imagine a monster that’s all mixed up with a body like a furry golden lion with huge, hairy toes and a plump, purple, warty nose. It has drooping, floppy pink ears and bulging, shiny, yellow eyes with soft, feathery pink and purple spotted wings and a slimy, black, scaly dragon-like tail. Could they picture it? I asked them to notice how the adjectives (descriptive words) made the monster much easier to imagine than if it was just a “fat, furry monster with wings and a long tail”. Week three, we read What Faust Saw by Matt Ottley. This helped students think about the elements of a good story as well as showed a wide variety of interesting monster/aliens. The children were already eager to begin, “I know! I’m going to have my monster come down on a spaceship!” We talked about how to set up a short story including: who, what, where, why and when (but not in that order). Story Elements: title and author setting = where and when character(s) = who plot = what happens and why description = an actual detailed description of the monster with interesting adjectives ending = a quick wrap up sentence or two Students came up with some very interesting stories! 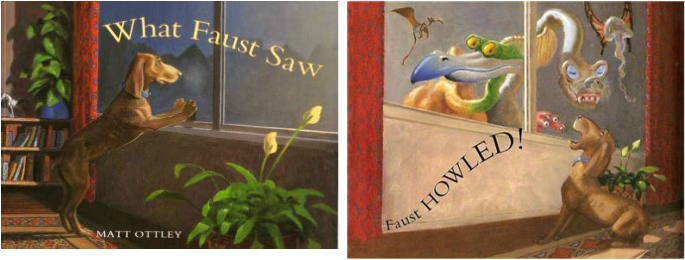
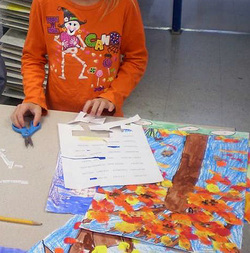
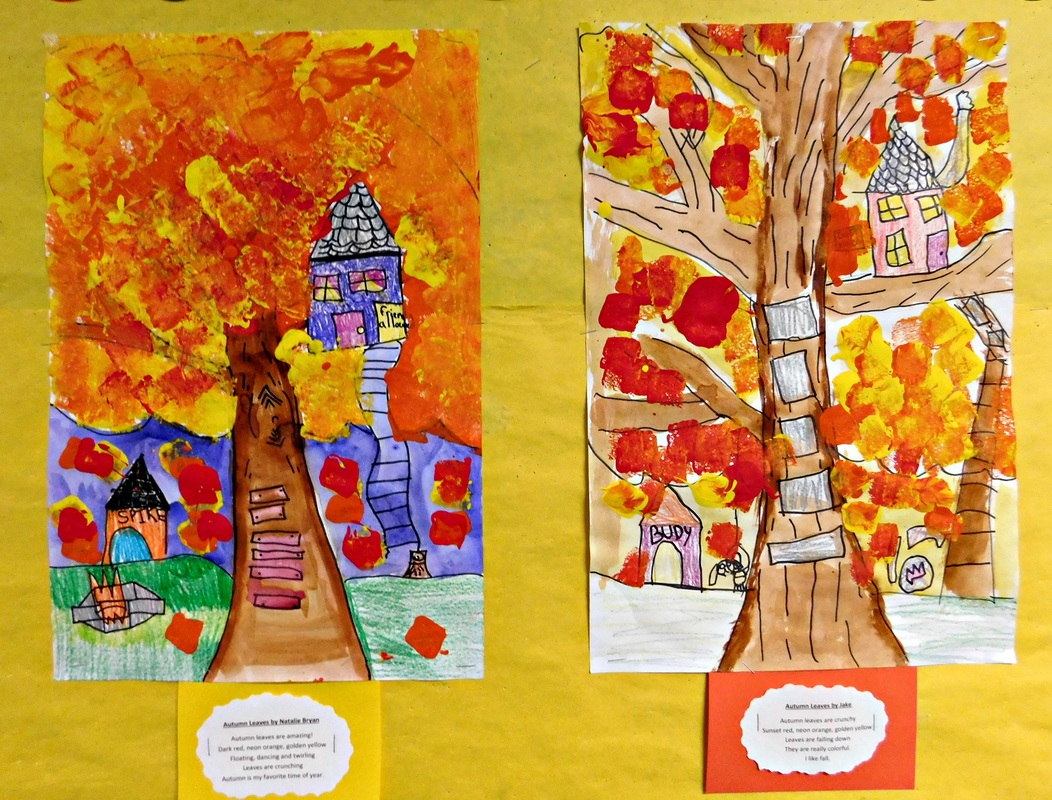
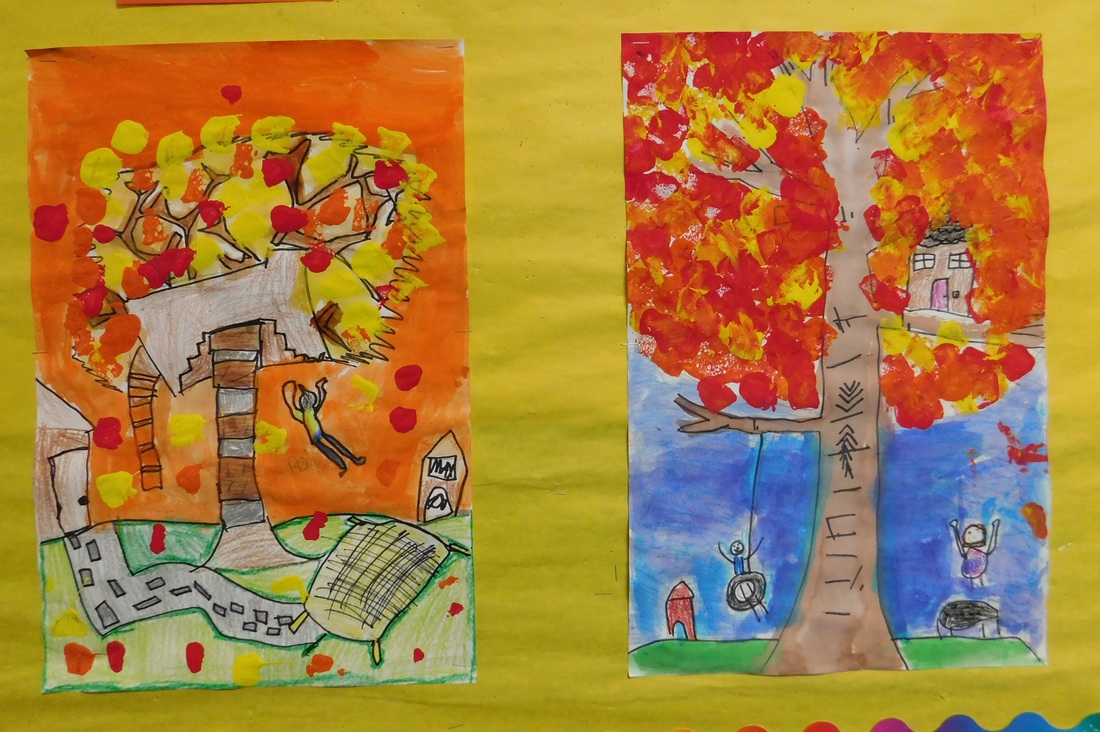
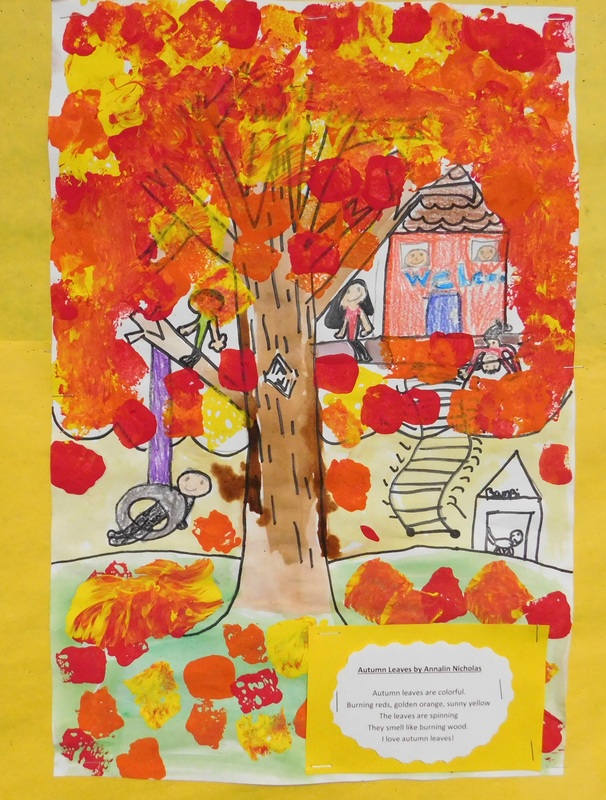
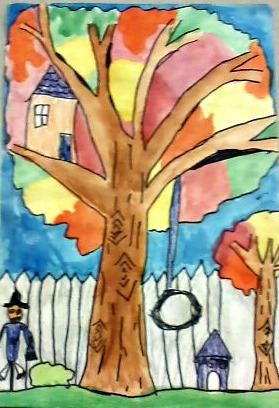
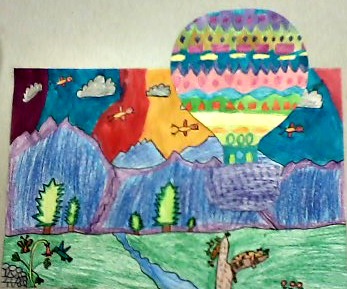
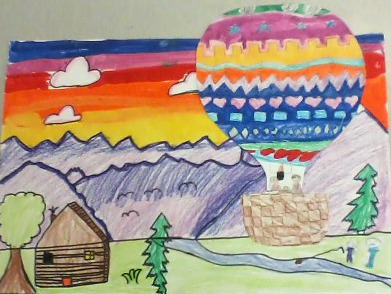
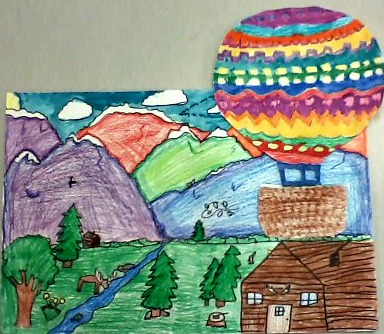
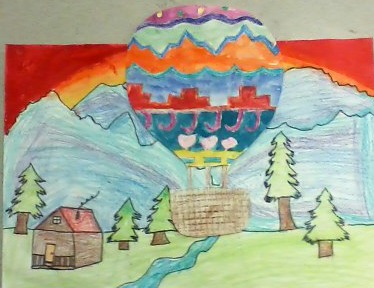
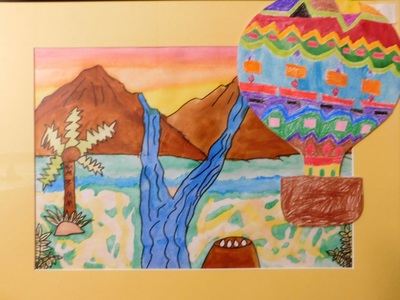
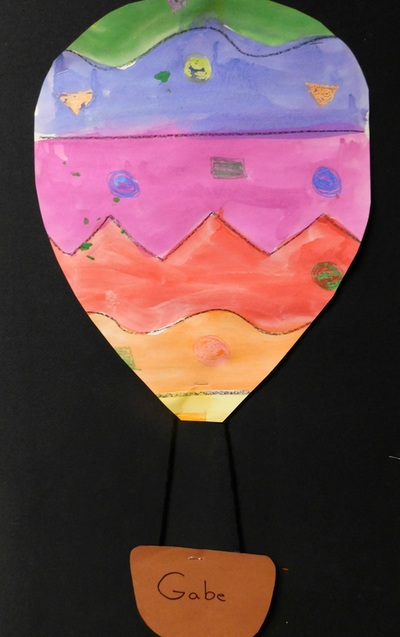
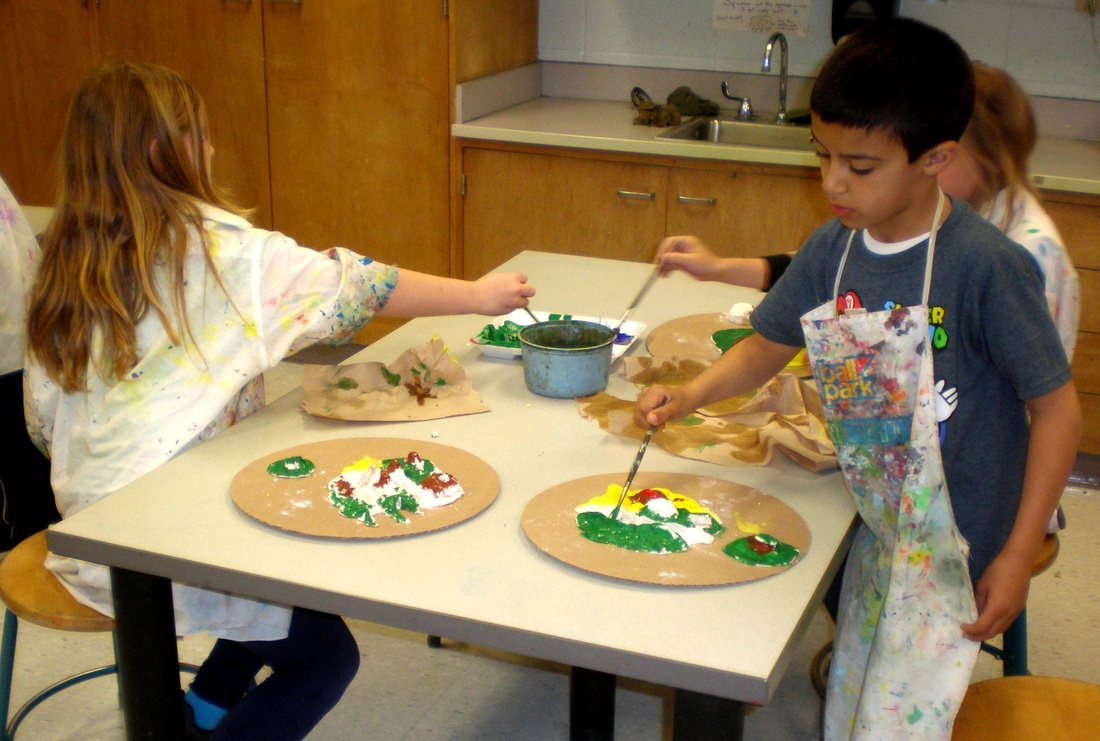
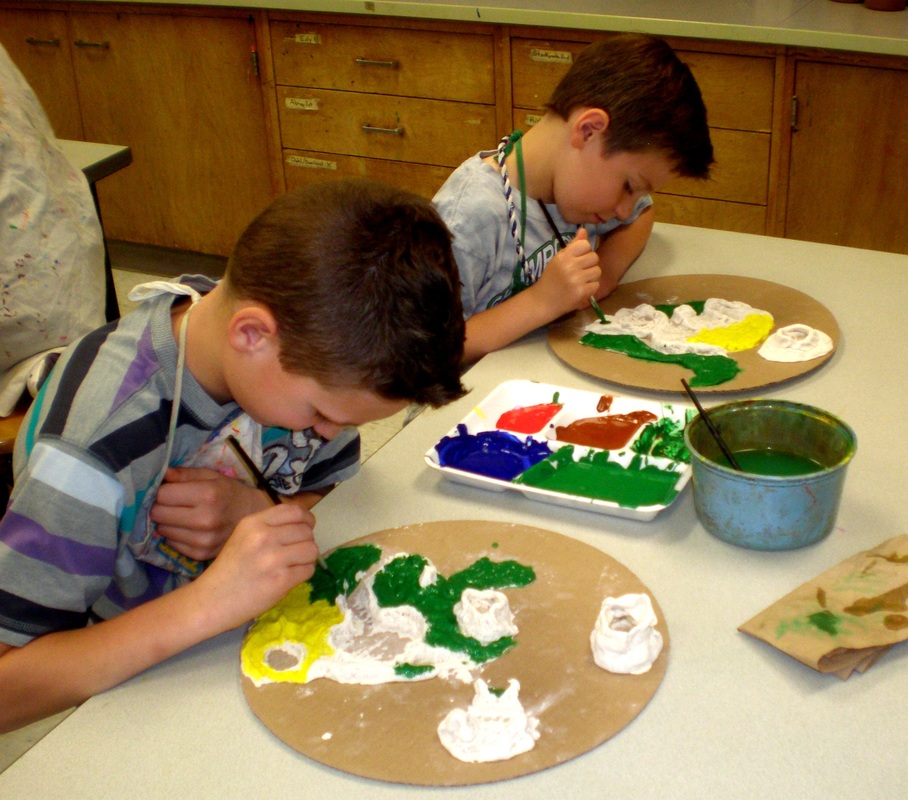
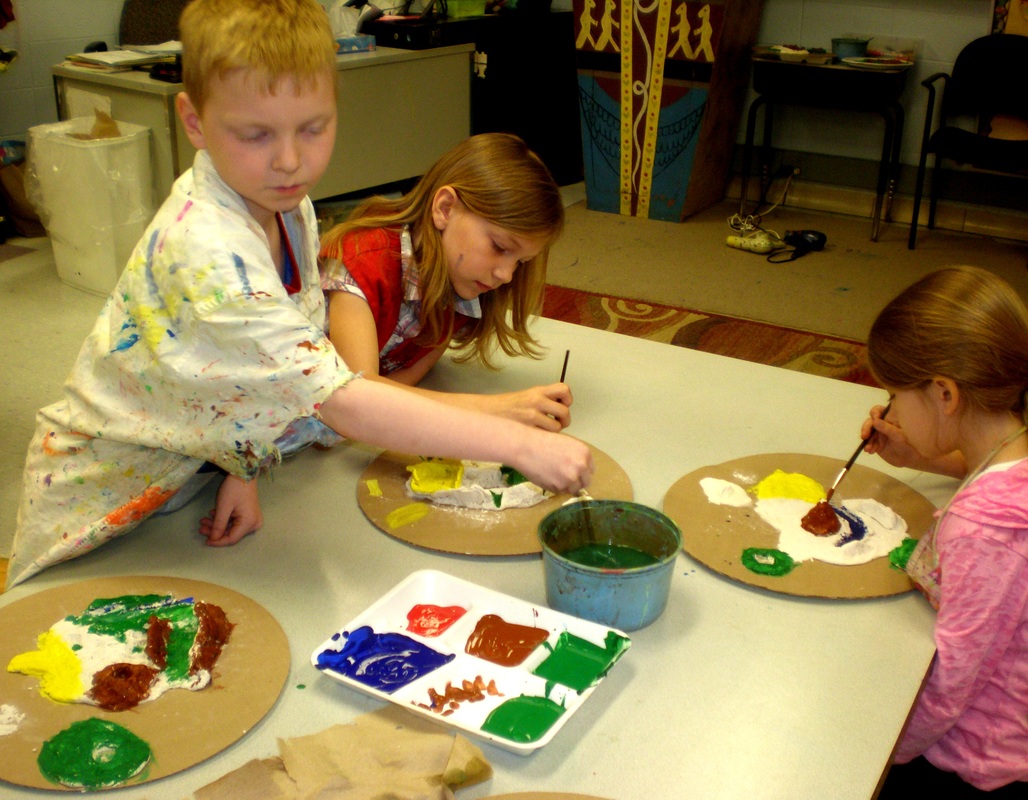
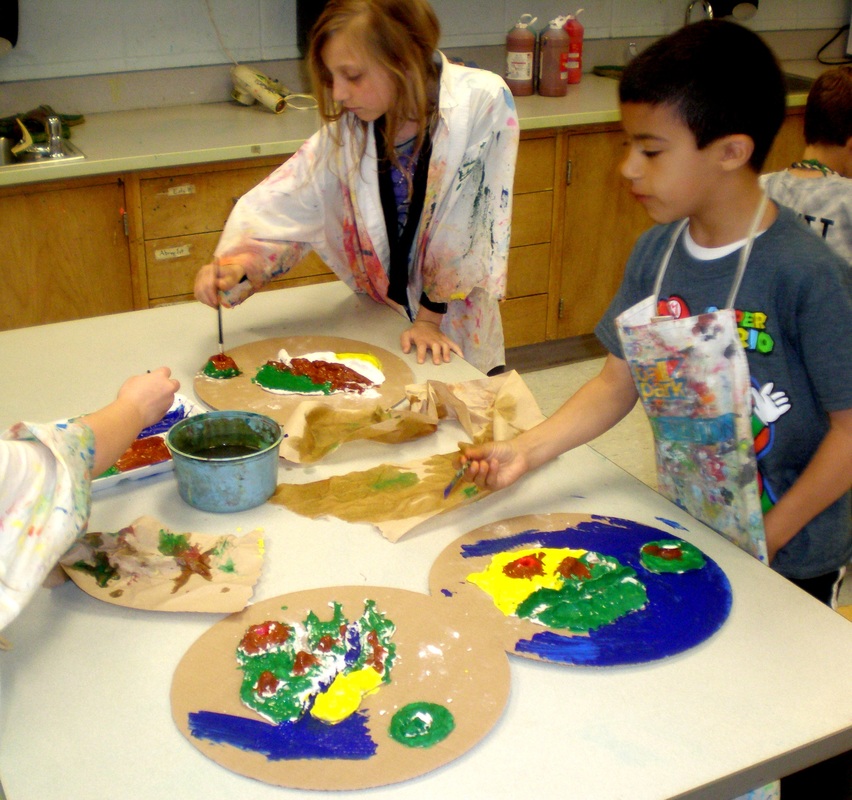
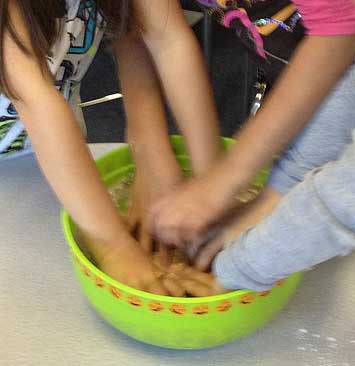
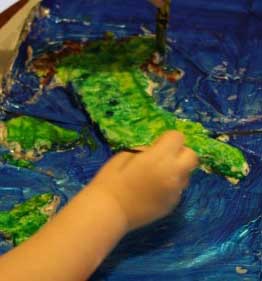
Students either went outside (weather permitting) or looked at photos of trees to observe trees and the Y shape of their branches. We learned about the tallest tree (General Sherman, a giant sequoia) and the oldest tree Methuselah, a bristlecone pine that is almost 5,000 years old! Next, they watercolor painted a tree trunk and branches, grass and sky. Students were invited to include a treehouse for fun! The following week the students stamp painted the leaves with small cut up sponges with yellow, orange and red tempera paint. After blow drying their art, we brainstormed descriptive words to use for poems using our senses including smell, sound, sight, feeling (emotional) and texture (touch) of autumn leaves. Words like scarlet, dancing, floating, spinning, smokey, crunchy, crimson and scarlet were typed and printed out. Students then created a poem about their finished trees. These poems delighted and surprised me! Here is an excellent example of a poem by one of my fourth grade boys: Autumn Leaves Autumn leaves blow far above in the sky Golden yellow, berry red, and fiery orange Leaves are falling from the sky With laughter all around Skipping, running and dancing Crunching all the leaves They curl up and spread out in the forest The trees look like a beautiful sunset. Kindergarten students at Oxbow learned about caring for Mother Earth based on the story Brother Eagle Sister Sky. We talked about throwing our trash into the garbage can and taking good care of animals. Next students painted line designs using different kinds of lines and then a pattern around their paper plate using q-tips dipped in tempera paint. Week two, students folded strips of paper for the rays of the sun and stapled them in a pattern around their mask. 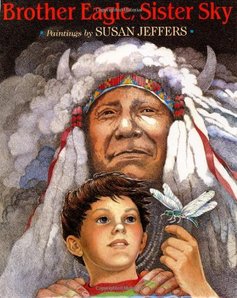 All grades kicked off the year with a lesson on flight and hot air balloons. The focus was reviewing (or learning) different kinds of lines. After watching a fascinating youtube of some early attempts at flying machines, I then showed some examples of hot air balloons and we discussed how they work. Finally, we launched into creating our own hot air balloons. Kindergartners filled their balloons with lines such as straight, zigzag, or wavy and then colored shapes and painted them to add variety. Lower el designed their balloons with lines, shapes and textured baskets and painted a simple landscape learning about foreground, middleground and background. Upper el focused on drawing and painting a detailed mountain landscape to provide a backdrop for their balloons while reviewing perspective, shading and blending. What a great way to fly into fall! 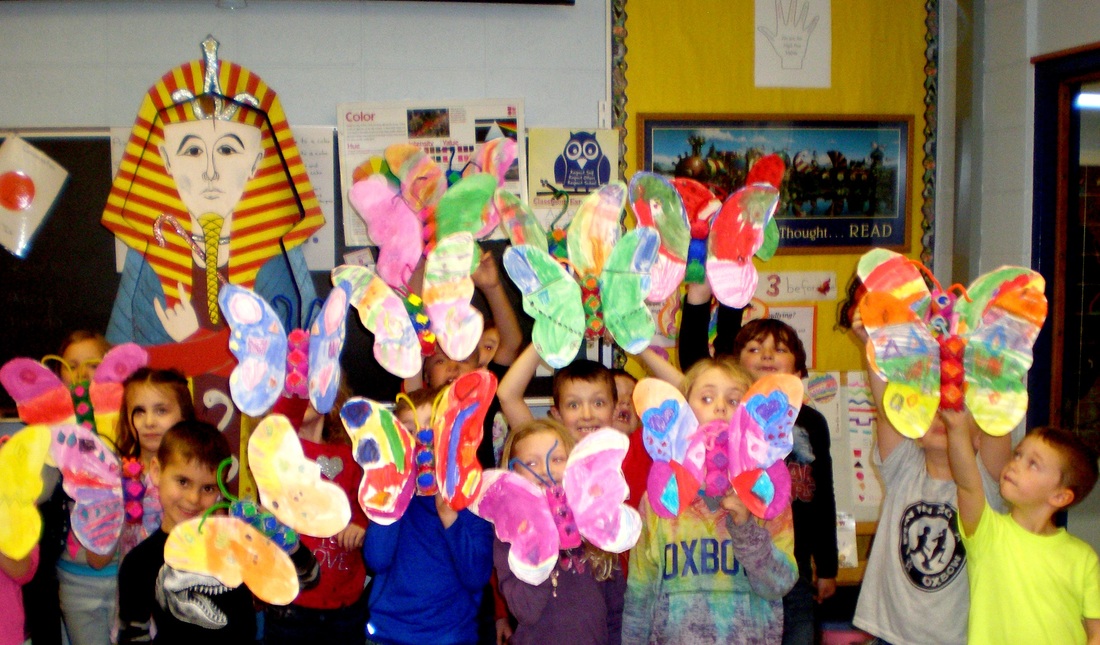 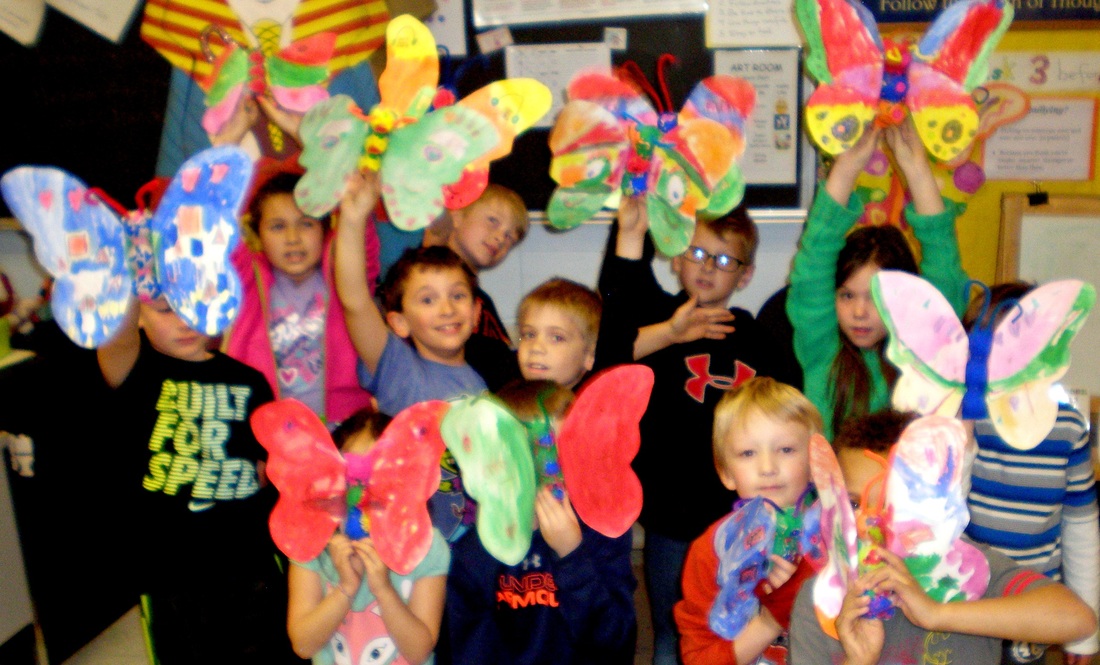 Springtime! Time for first graders to study the life cycle of butterflies. Time too for a fun art project using recycled cardboard egg cartons to make butterflies. Our first grade teachers ordered a set of real chrysalis (a hard outer casing for the developing pupa) and put them inside protective netting in the classroom. Then each class learned about metamorphosis which, for a butterfly has four stages: egg, larva (caterpillar), pupa (chrysalis) and adult butterfly. Students eagerly watched for signs of development over the following weeks. In art class, we learned that butterflies wings are symmetrical (the same on both sides). We studied a variety of different types noticing the details and differences. Then first graders designed and painted the segmented body and wings. Wings were assembled and colorful antennae added the final touch. Lovely! 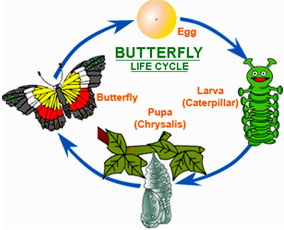 Looming on the monitor screen was a shot of a huge, shifting sand dune in the Sahara desert. "What kind of land form is that?" "DESERT!" was the loud reply. "How many have been to Sleeping Bear Dunes? (Hands shoot up) Did you know that the Sleeping Bear Sand Dunes are slowly burying the parking lot? What might cause that?" "WINDSTORM! RAIN!" Wonderfully engaged after my Power point, we jumped into our art project for a culminating science activity - mixing and building salt dough land forms. What a great way to complete this earth science unit! Second graders studied everything from how mountains and hills are formed, to learning about the desert, how valleys and canyons are formed, plains, peninsulas, rivers, lakes, island, and even volcanoes. The culminating lesson takes place each year in the art room. Many hands measured then squished and mixed the sticky salt dough. As soon as their hands got sticky, the students could barely contain their excitement! Next they pinched and formed the dough into mountains, islands and curving rivers. By the end of an hour, each child had created their own land forms. After a week of drying, we painted them using tempera paint. Now THAT was hands-on, fun science! Salt Dough Recipe: 2 cups flour, 1 cup salt, 1 cup hot water. Mix till consistency of bread or pizza dough. Make your creation. Let dry until hardened (it takes a few days). Paint. 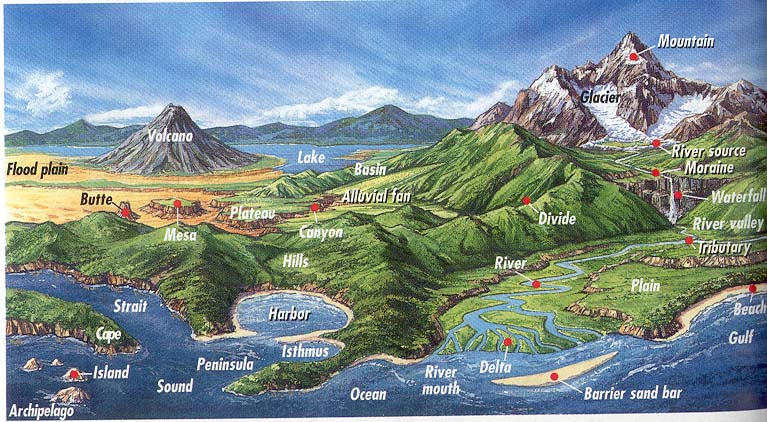 |
Archives
March 2024
AuthorMy name is Mrs. Krupa and I'm an elementary art teacher at Oxbow Elementary. I'm a professional harpist turned art teacher of 20 years. I'll share art lessons and ideas on these pages, what works and doesn't. Enjoy! Categories
All
|
 RSS Feed
