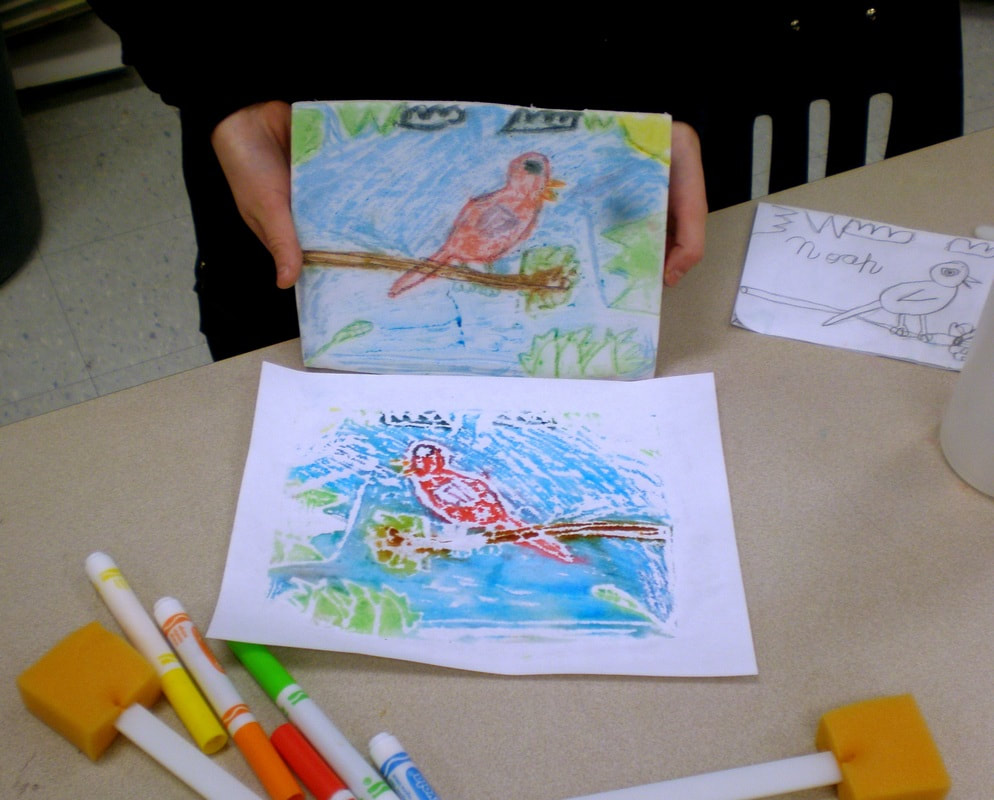
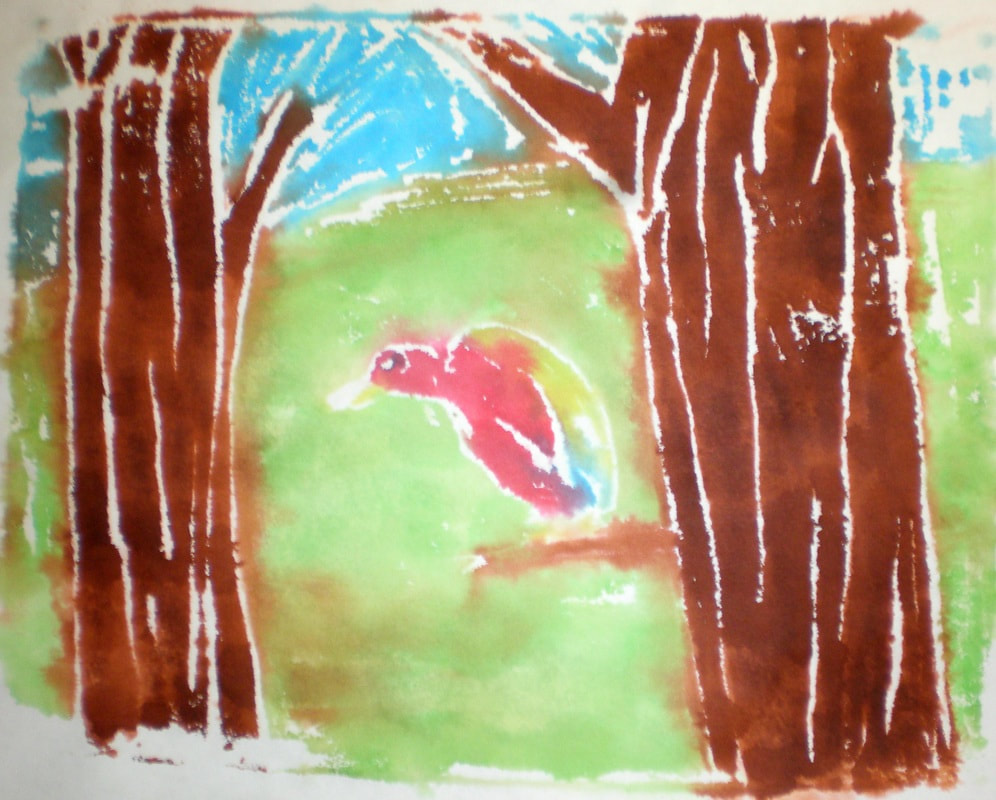
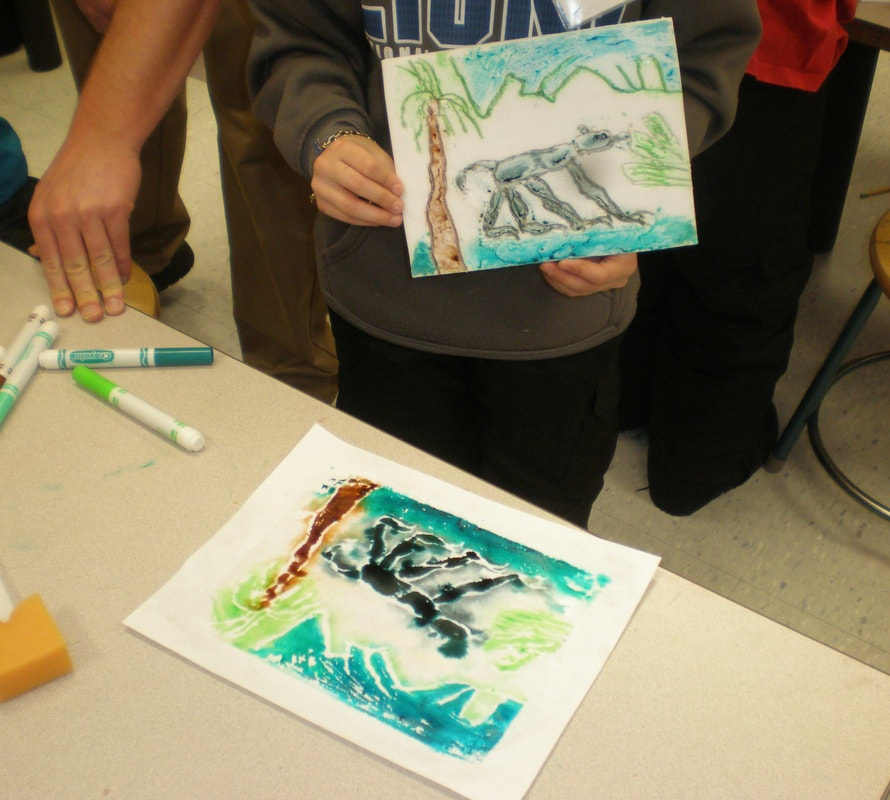
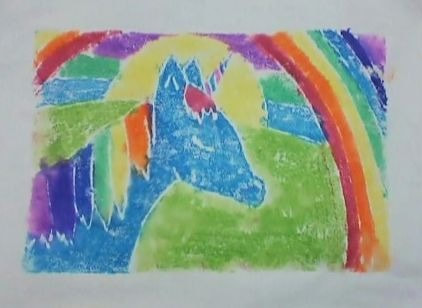
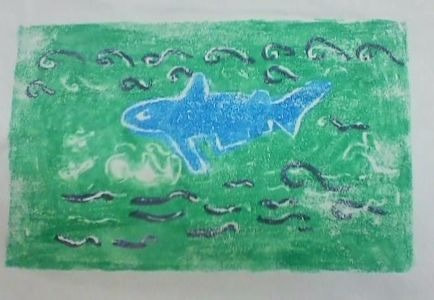
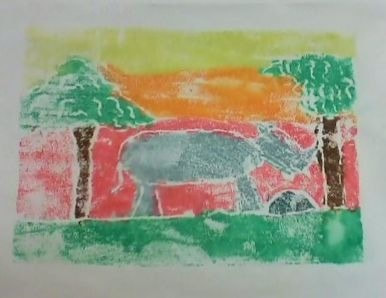
This is a lesson I included in my unit on endangered animals, which is appropriate for third through fifth graders using relief printing. I suggest beginning by having your students or children play a game matching endangered animals with their habitats around the world. (See the above art lesson for more info on that). Alternatively, research can be done on some excellent websites such as https://kids.nationalgeographic.com/animals/. Pick an animal and answer questions such as: Where does your animal live in the world? What is its habitat? What adaptations did it develop that helped it to live in that habitat? Why is it endangered? What are your ideas for what can be done to save it? I would then have students draw their endangered animal in its habitat, taking care to add details and texture such as wavy lines in the water, scales, curved lines to delineate leaves, etc. Students can practice making four different practice sketches on copy paper (folded into four squares) and then pick the one they like the best. Next, use a clean, rinsed off and dry Styrofoam meat tray with the edges trimmed off to use to make the relief print, along with a dull pencil. Pressing medium hard, redraw the animal in its habitat onto the Styrofoam plate using a dull pencil. Hint: drag the pencil as it etches into the Styrofoam to get smooth lines...it takes a little practice. I would suggest having two or three trays to practice on to alleviate frustration. An easier way to etch in the design is to lay the chosen design over the Styrofoam and retrace the lines pressing hard enough to transfer the lines but not so hard that the pencil punches through the styrofoam. Using colorful markers (not washable markers), color the styrofoam plate making sure to color it thoroughly. Now comes the magic! Take a piece of copy paper and spritz it with cold water thoroughly and shake off the excess water in a sink. Place it carefully onto the colored styrofoam and rub firmly and thoroughly without letting the paper slip around. Let the student lift it straight up and off. Viola! A colorful masterpiece! Rinse the plate and repeat with new colors. Set aside to dry. Note: If you are a parent, let your child do the entire process - that is part of the fun! Be aware it may take several times to perfect the technique. So that is relief printing in a nutshell. Enjoy!
 RSS Feed
Photo from Laika ac
